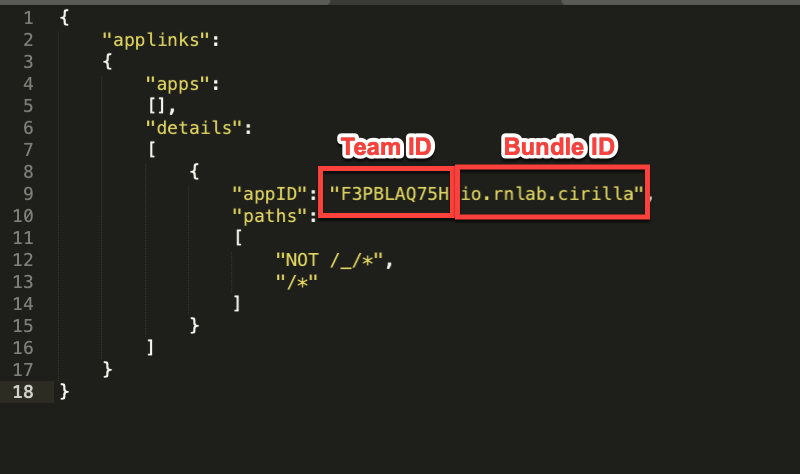
1. Create file apple-app-site-association and upload to your web server.
{
    "applinks":
    {
        "apps":
        [],
        "details":
        [
            {
                "appID": "F3PBLAQ75H.io.rnlab.cirilla",
                "paths":
                [
                    "NOT /_/*",
                    "/*"
                ]
            }
        ]
    }
}
Update your Team ID and Bundle ID
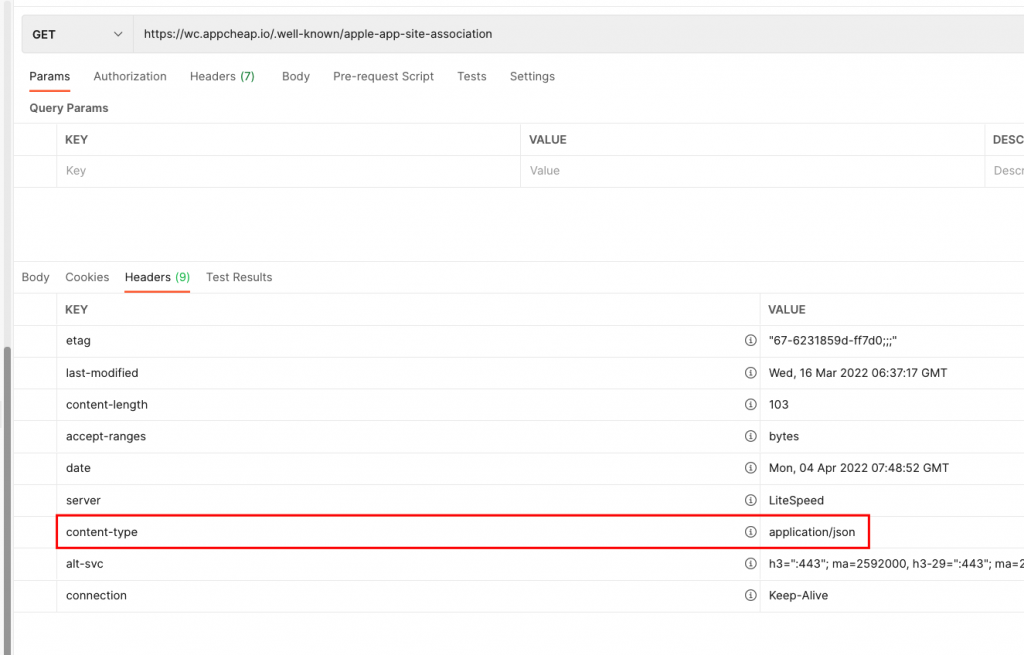
- Upload the
apple-app-site-associationfile to your HTTPS web server. You can place the file at the root of your server or in the.well-knownsubdirectory. - Example: https://wc.appcheap.io/.well-known/apple-app-site-association
- The file content response from the server must be application/json
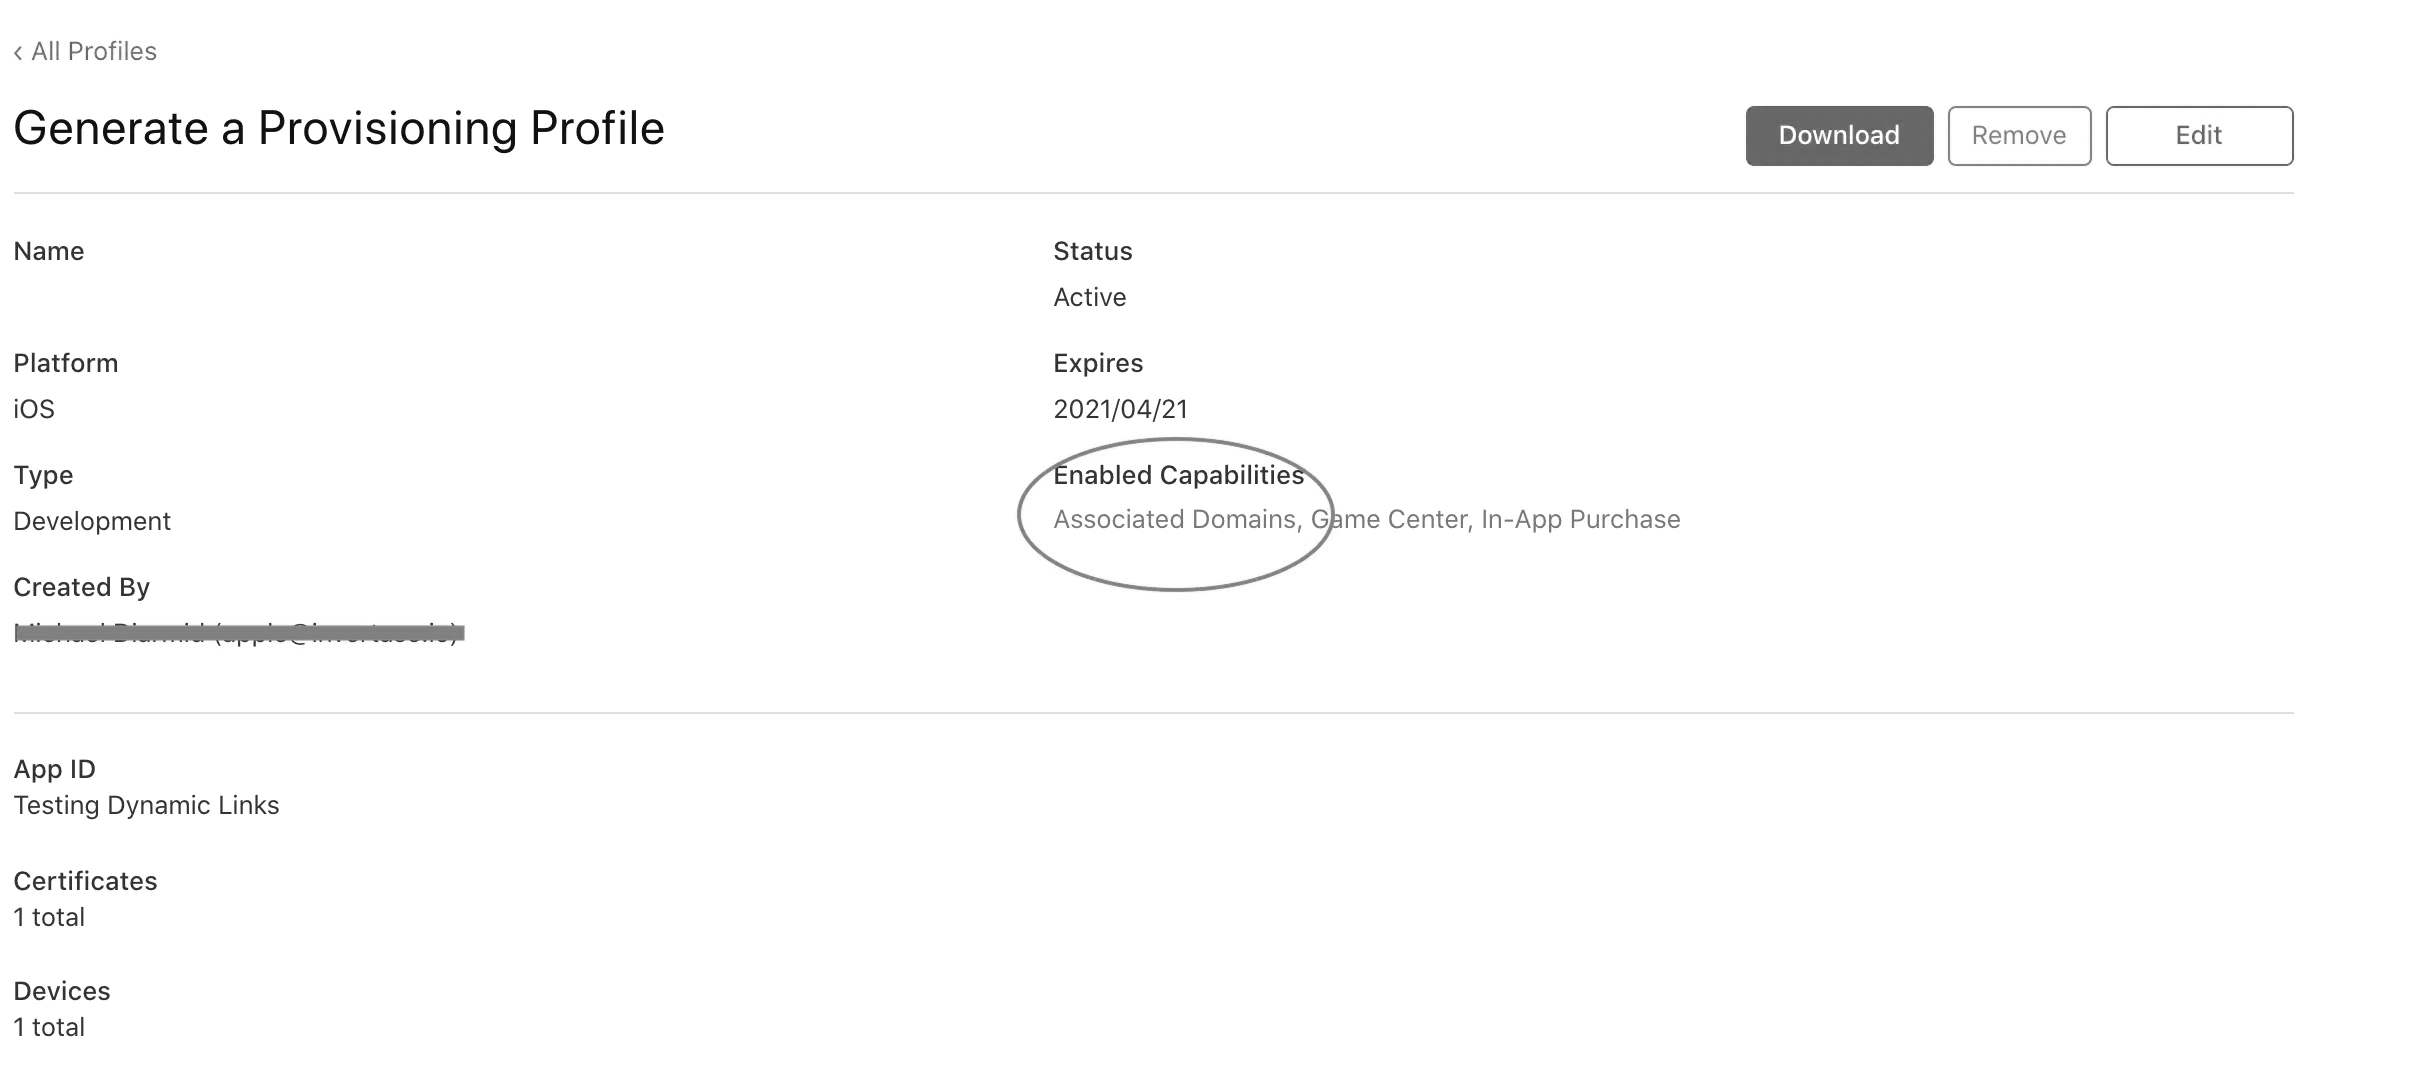
2. Apple Developer Console
Create a provisioning profile for your app. Please ensure you’ve enabled the Associated Domain capability which you should check before proceeding.
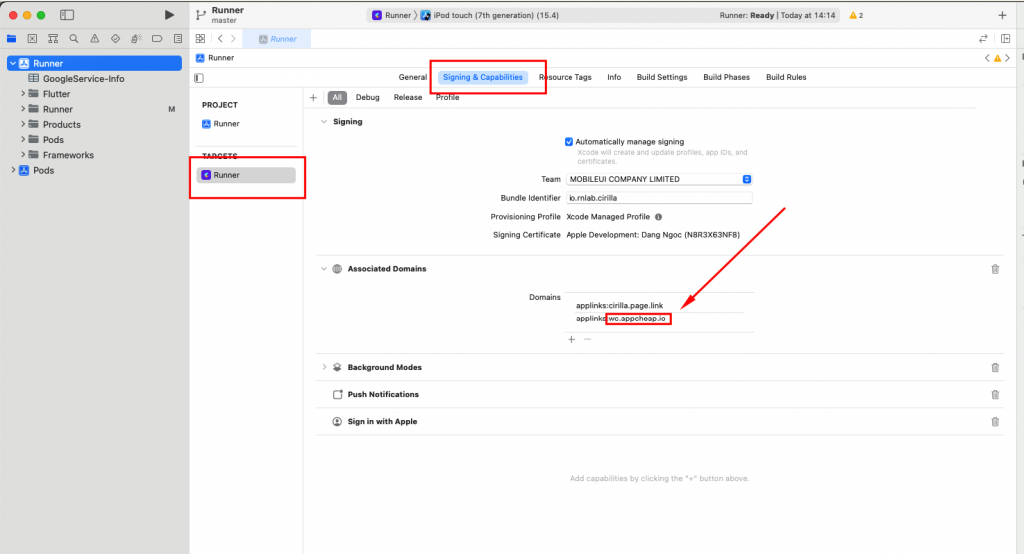
3. Prepare your app to handle universal links
Change `applinks:wc.appcheap.io` to your domain
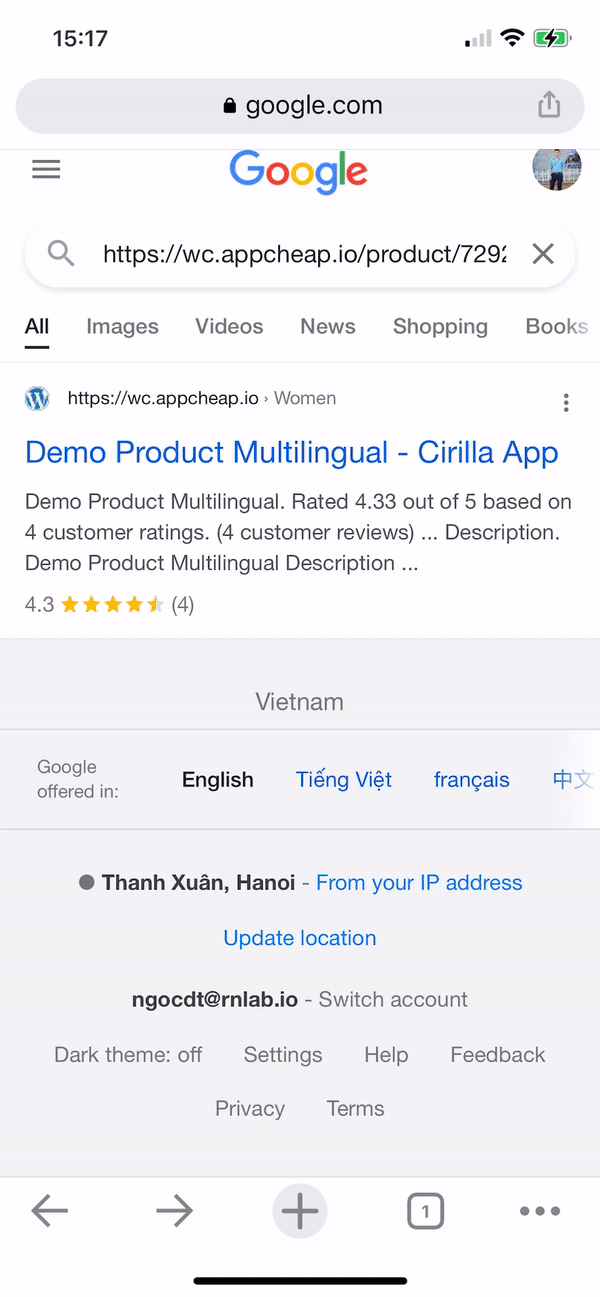
4. Result
FAQs?
How to set correct content-type for apple-app-site-association file on Nginx/Rails
This worked for me within .htaccess<FilesMatch "apple-app-site-association">
ForceType application/json
</FilesMatch>
Solution: https://stackoverflow.com/questions/40725154/how-to-set-correct-content-type-for-apple-app-site-association-file-on-nginx-rai