Download and install Plugin.
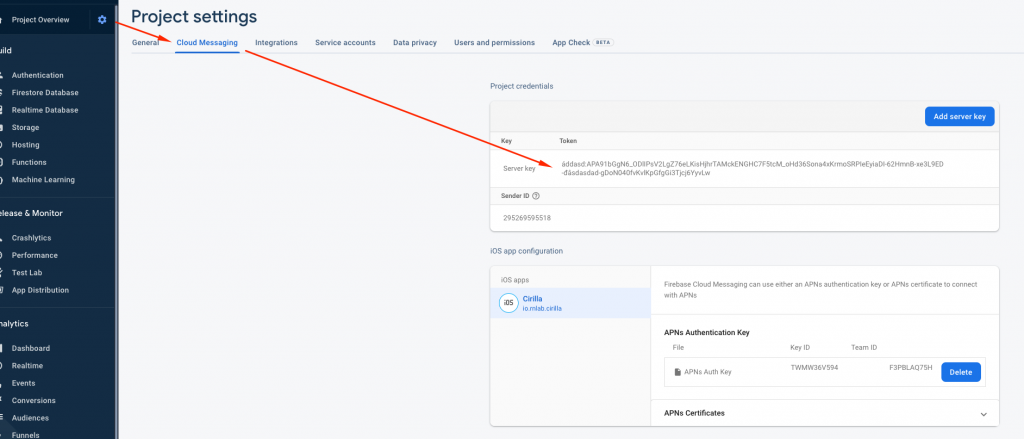
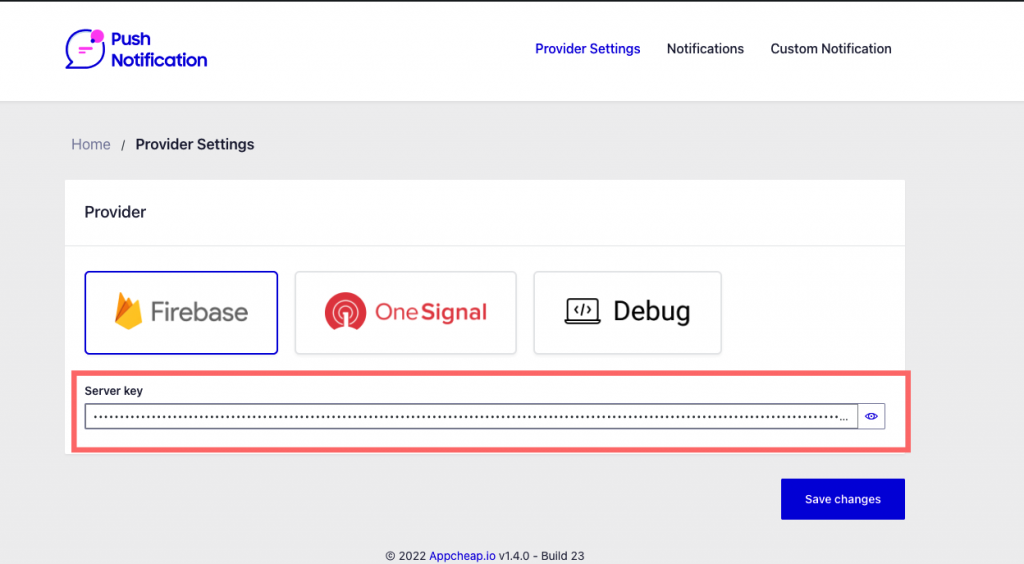
1. Go to your Firebase project and get token as shown below:
Firebase Console
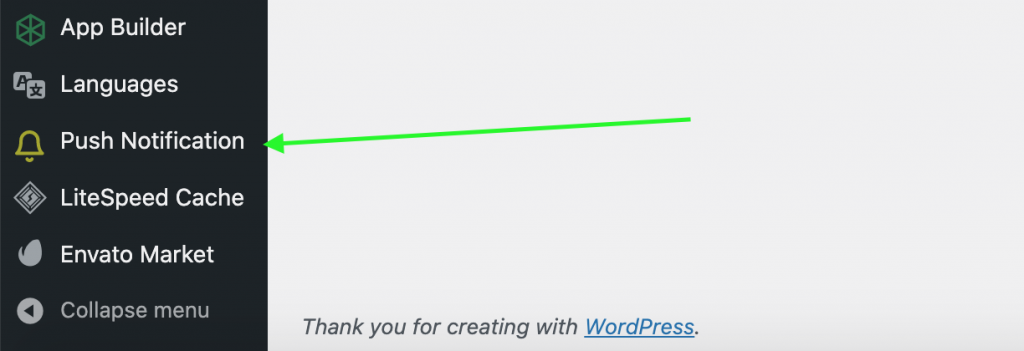
2. Open Push Notification on Sidebar Menu
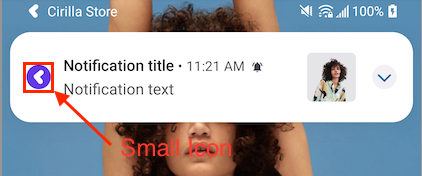
Small Icon
Generate Icons
REQUIRED: Add every icon size listed below
You must add each image with listed size and alpha transparency.
For help generating images with alpha transparency, see this clipart link for examples in the Android Asset Studio.
Option A: Using Android Asset Studio
Recommended
To quickly and easily generate small icons with the correct settings, we recommend using the Android Asset Studio. Use ic_notification as the name.
Option B: Manually Create Icons
If you prefer to create your own icons, you must make your icons the following sizes and make the small ones in white with a transparent background.
You must be sure the icon filenames are correct for Native, Unity, PhoneGap, Cordova, Ionic, PhoneGap Build (PGB), Xamarin, React Native, Ionic Package (Cloud Build)
Note: If you used Android Asset Studio for your small icon then this step may have already been done for you.
Default Icon Name, Density, Size
Required: Each name and pixel size must be present in the app.
| Name | Density (dp) | Size (px) |
|---|---|---|
| ic_notification | MDPI | 24×24 |
| ic_notification | HDPI | 36×36 |
| ic_notification | XHDPI | 48×48 |
| ic_notification | XXHDPI | 72×72 |
| ic_notification | XXXHDPI | 96×96 |
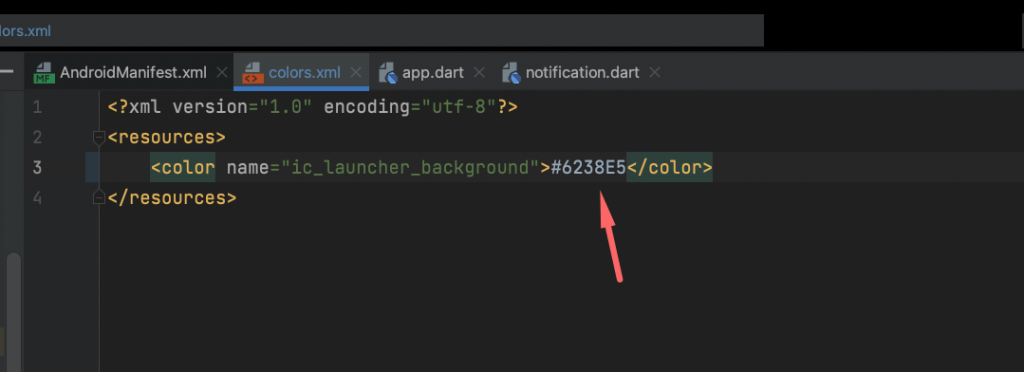
Change icon background color
Open file cirilla/lib/constants/notification.dart file
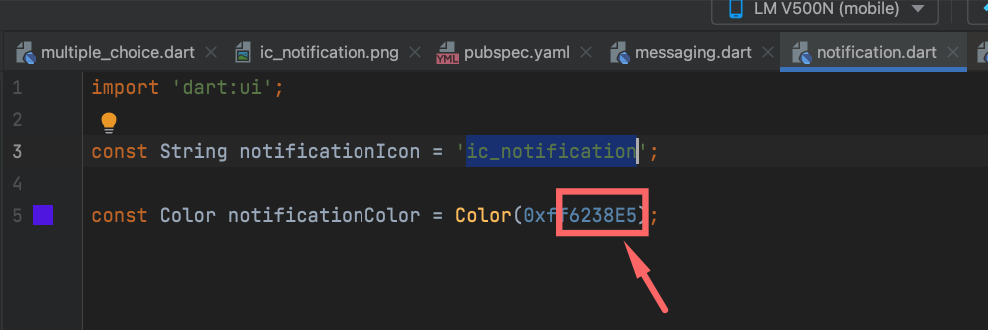
Noted: Convert a hex color #000000 to color variable Color(0xff000000);
Open file cirilla/android/app/src/main/res/values/colors.xml