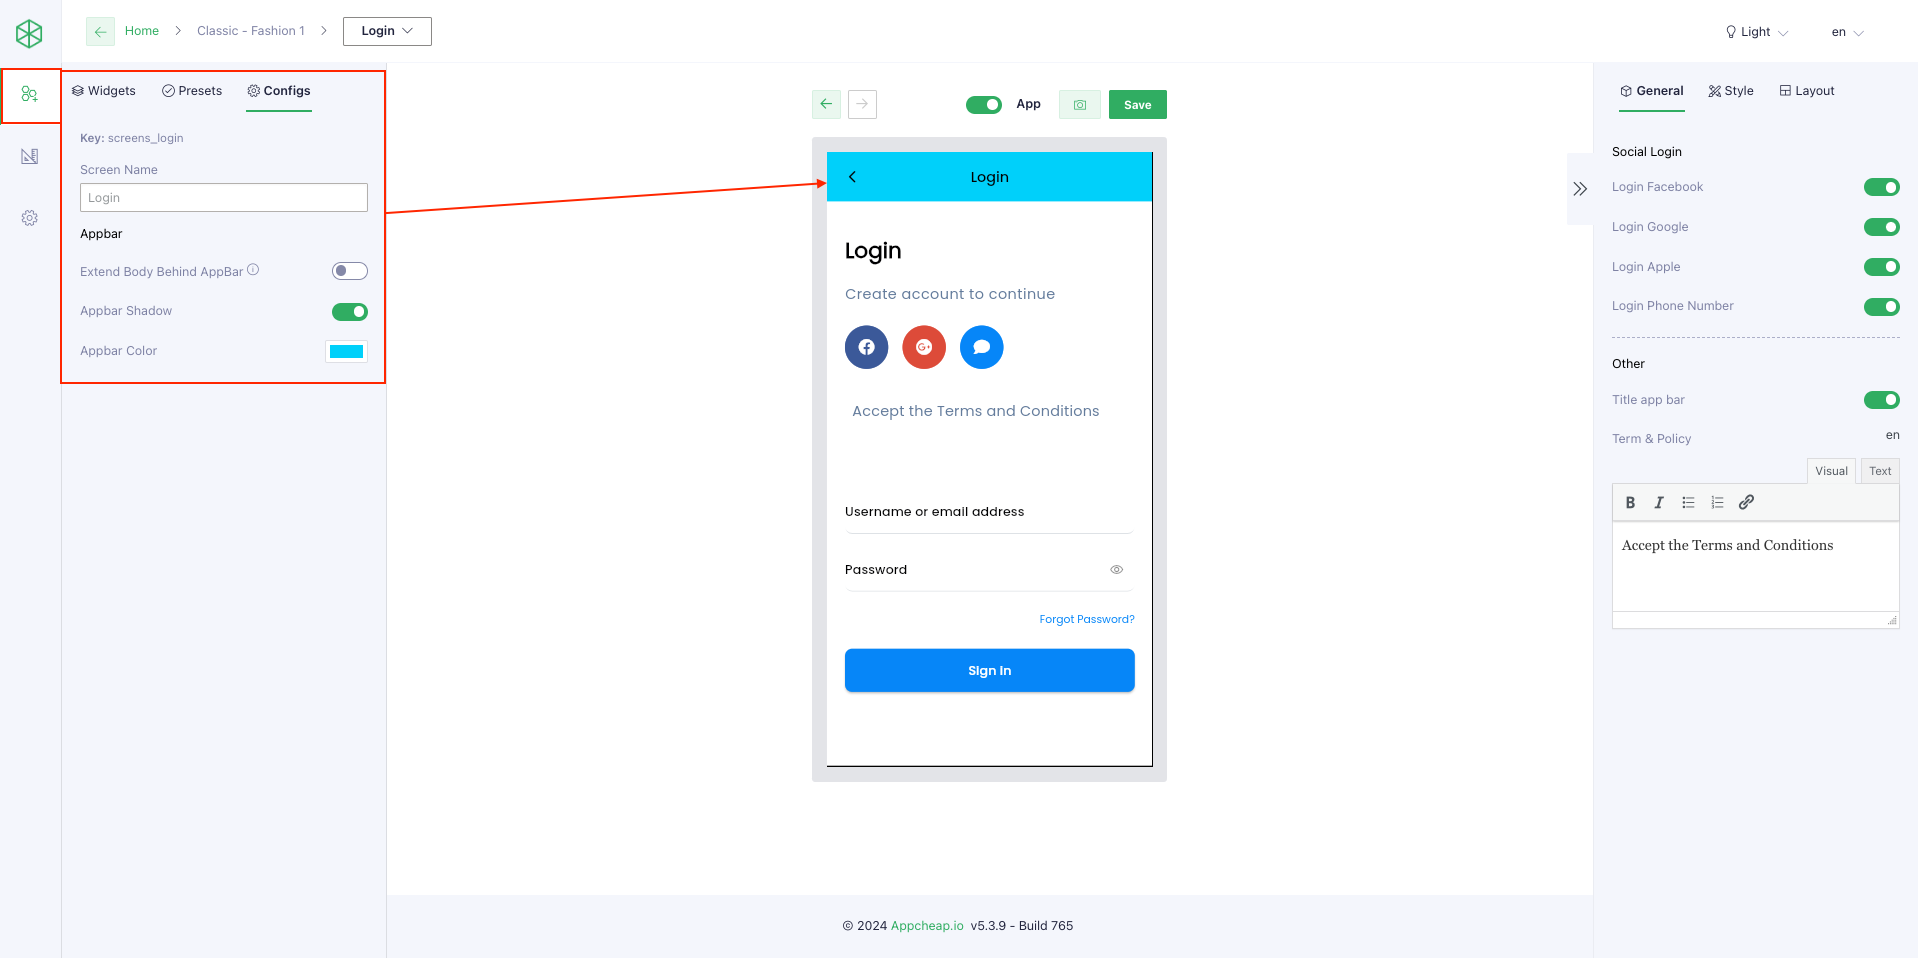
Link to config: Go to Admin panel > choose [App Builder] > Select a template that you want to update > Choose option [Login] on the dropdown refer here
1. Layouts
Users can choose 1 of 4 layouts for Login form by clicking on [Layout] tab then choose the layout that they want.
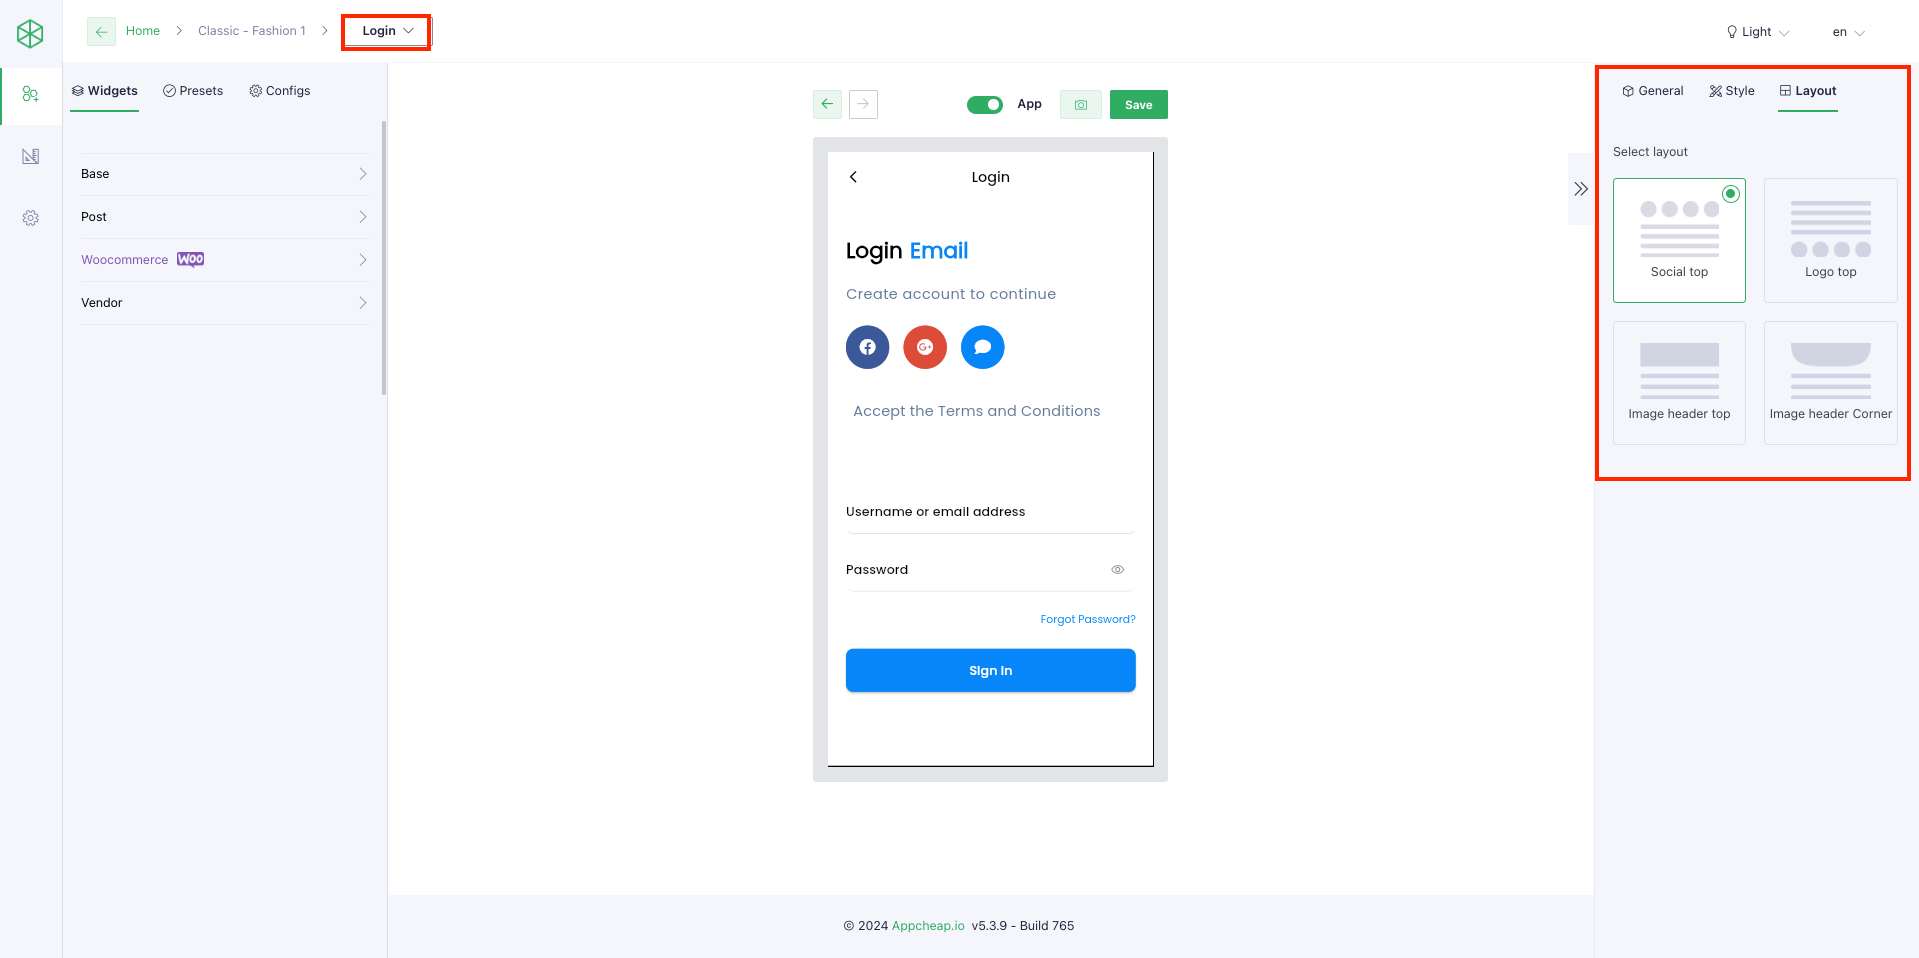
Layout 1: Social top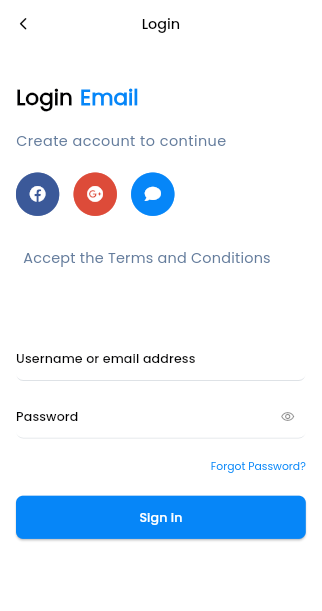 | Layout 2: Logo top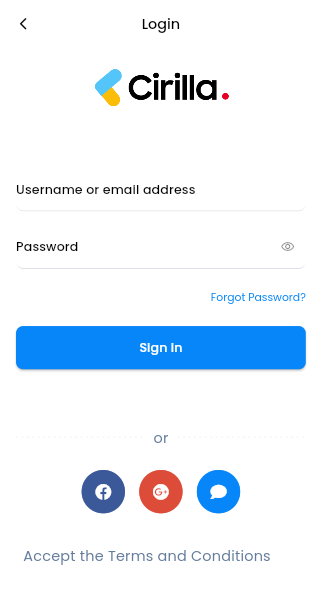 |
Layout 3: Image header top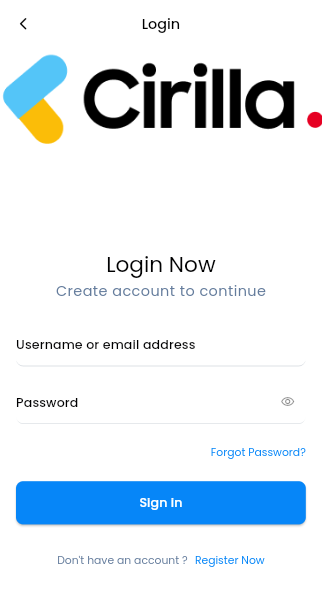 | Layout 4: Image header corner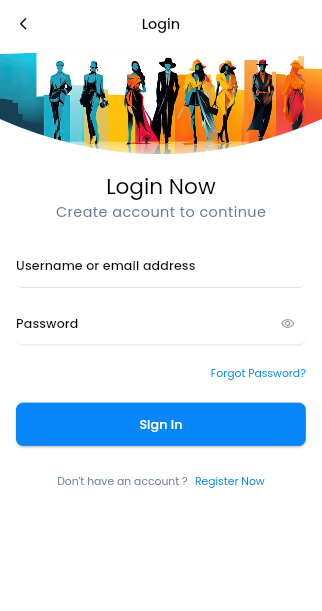 |
* Note: For layout: 2, 3, 4 you need to config more [Header image] on [Style] tab
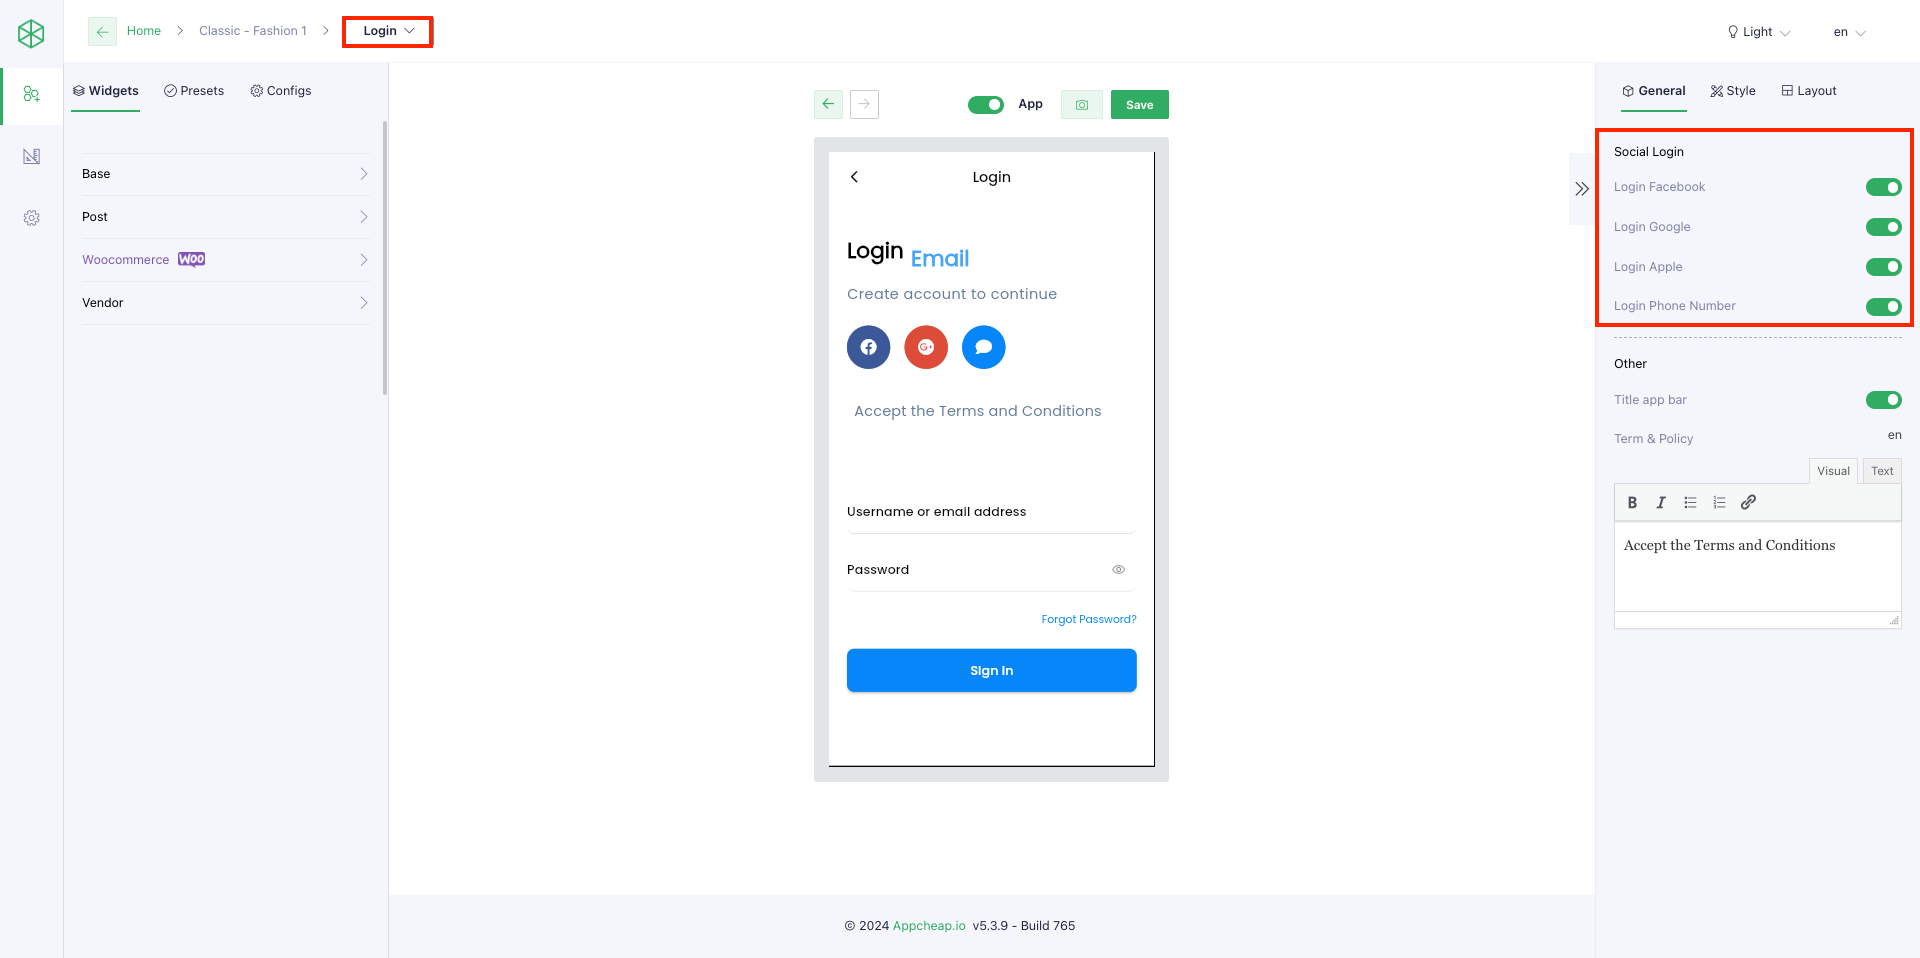
2. Social login
Users can set up to enable/disable social login on [General] tab
3. Terms and Conditions
Additionally, users can totally set up “Terms and Conditions” content on [General] tab by inputting the content manually
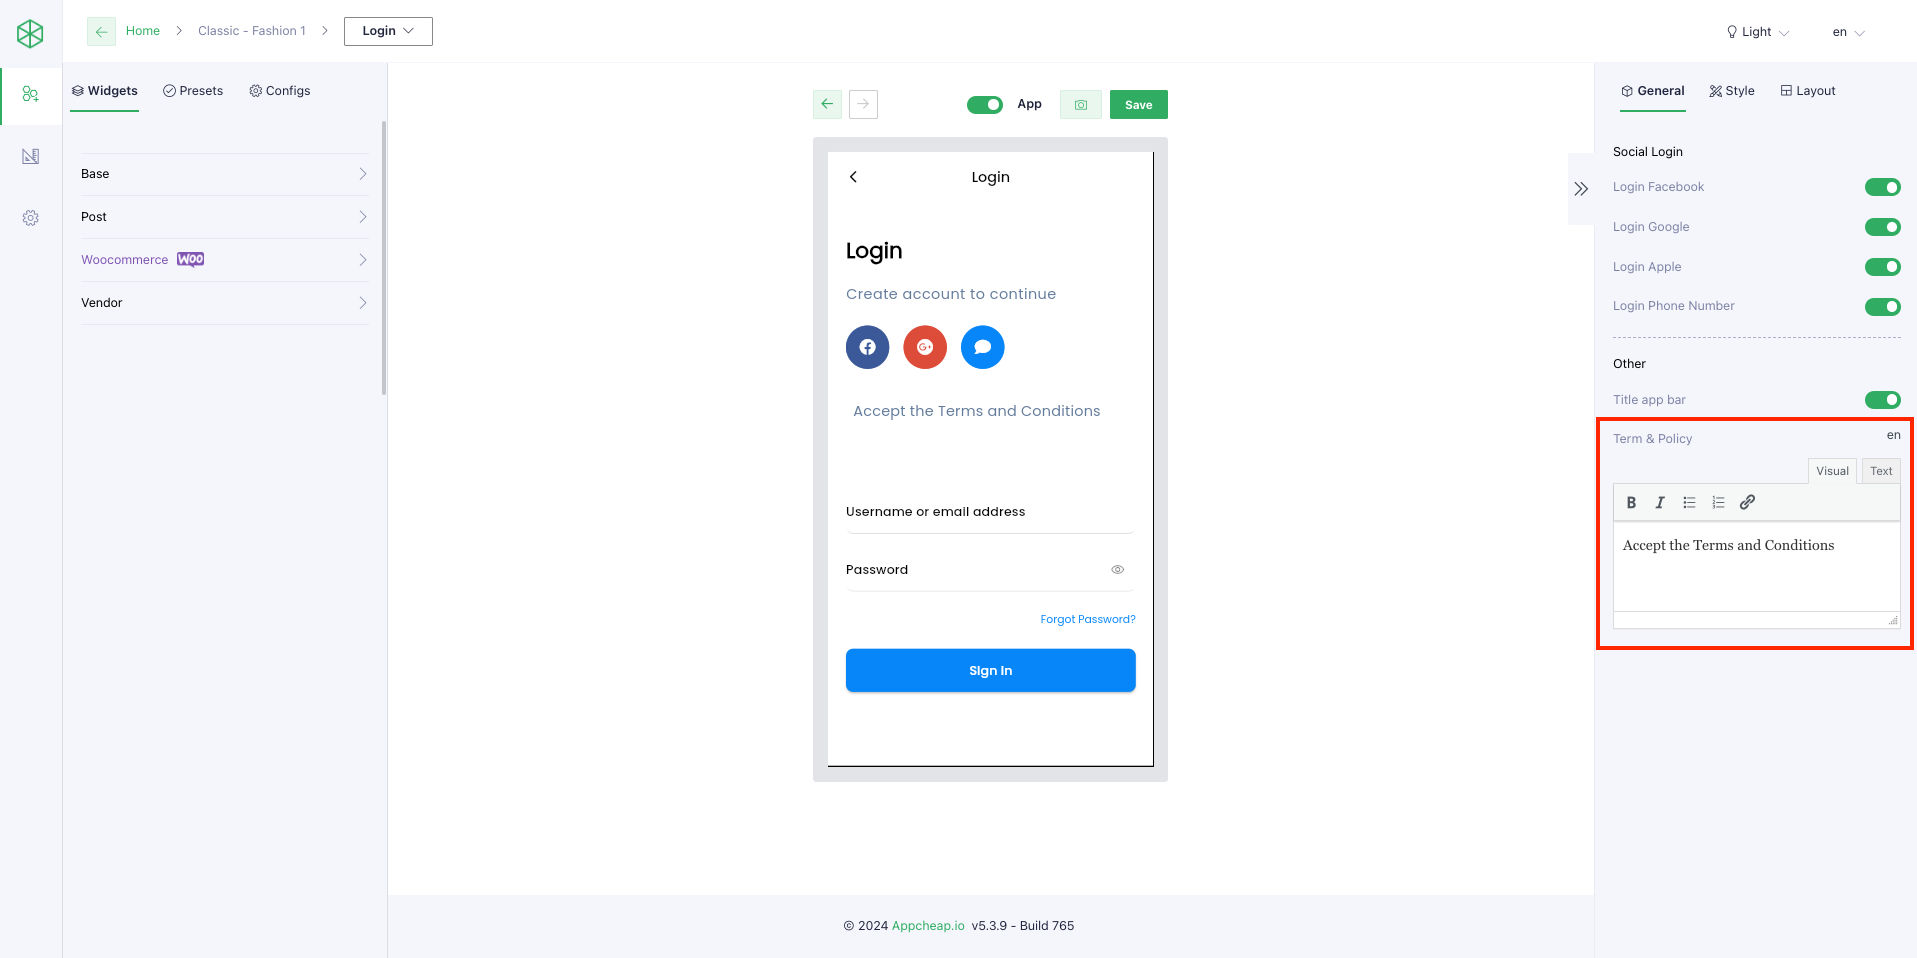
OR can insert a link to existing content:
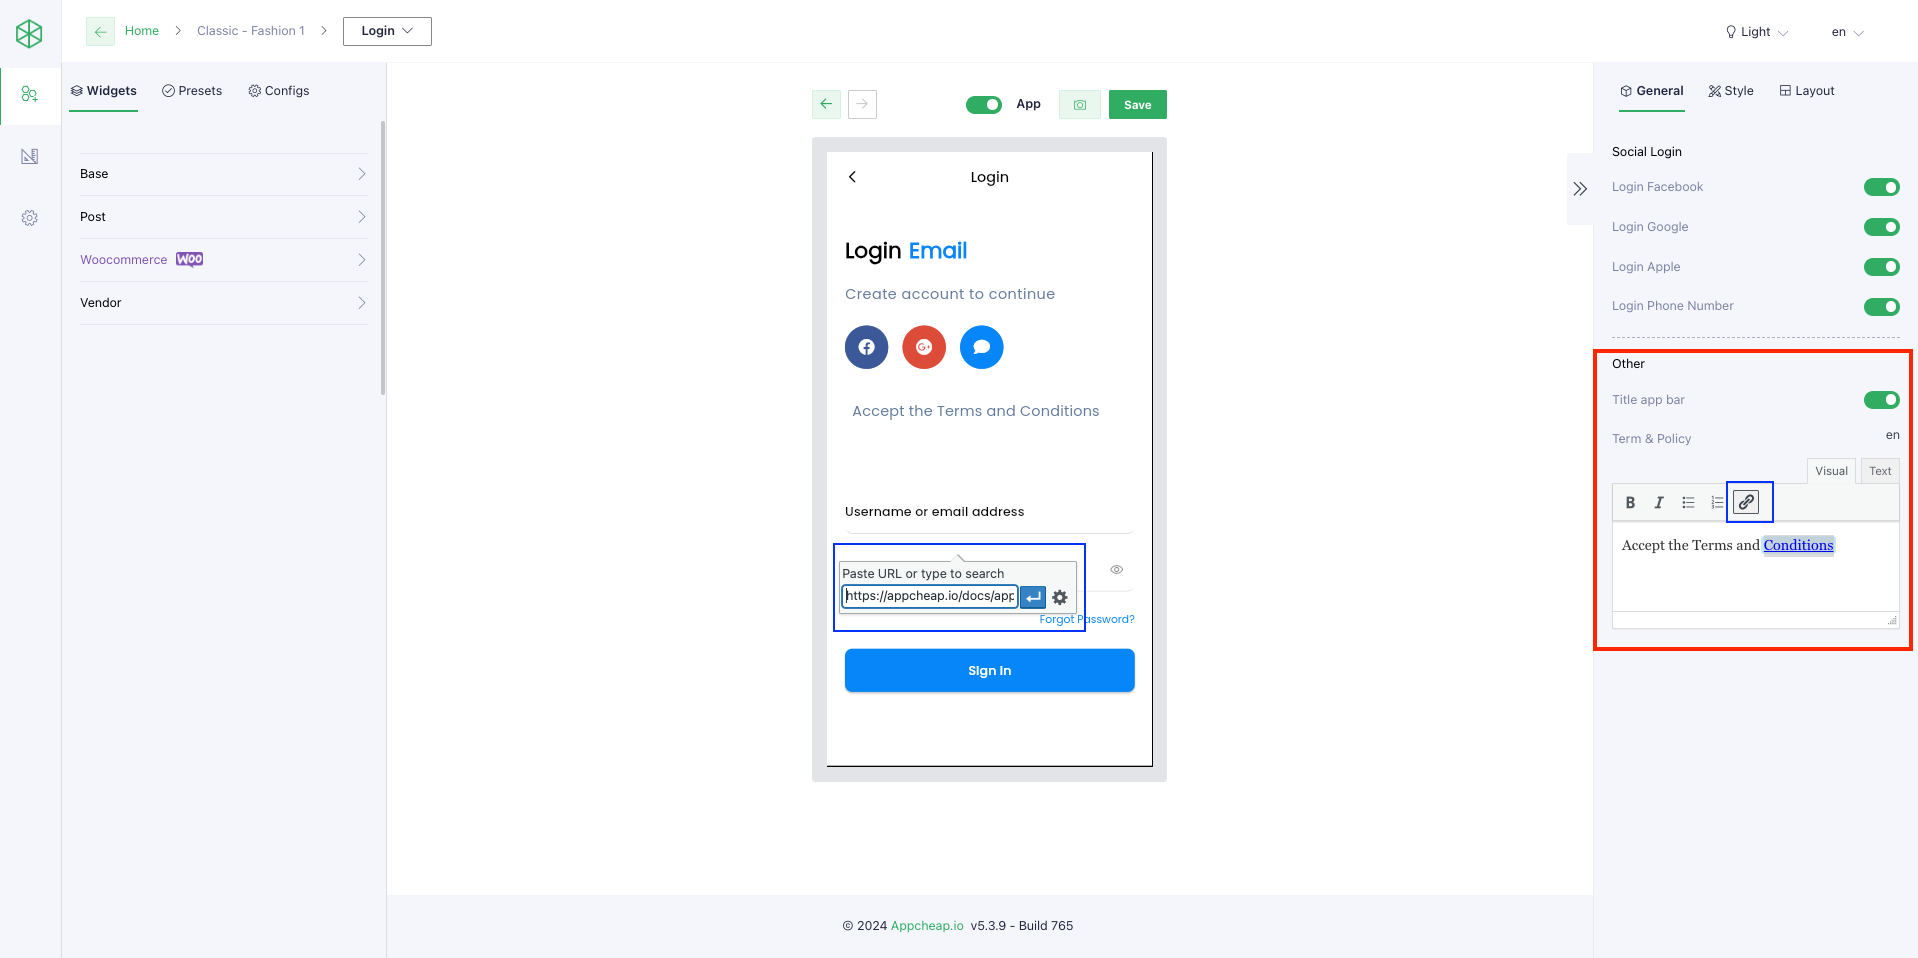
Step 1: Select a text then click on [Insert/Edit link] icon
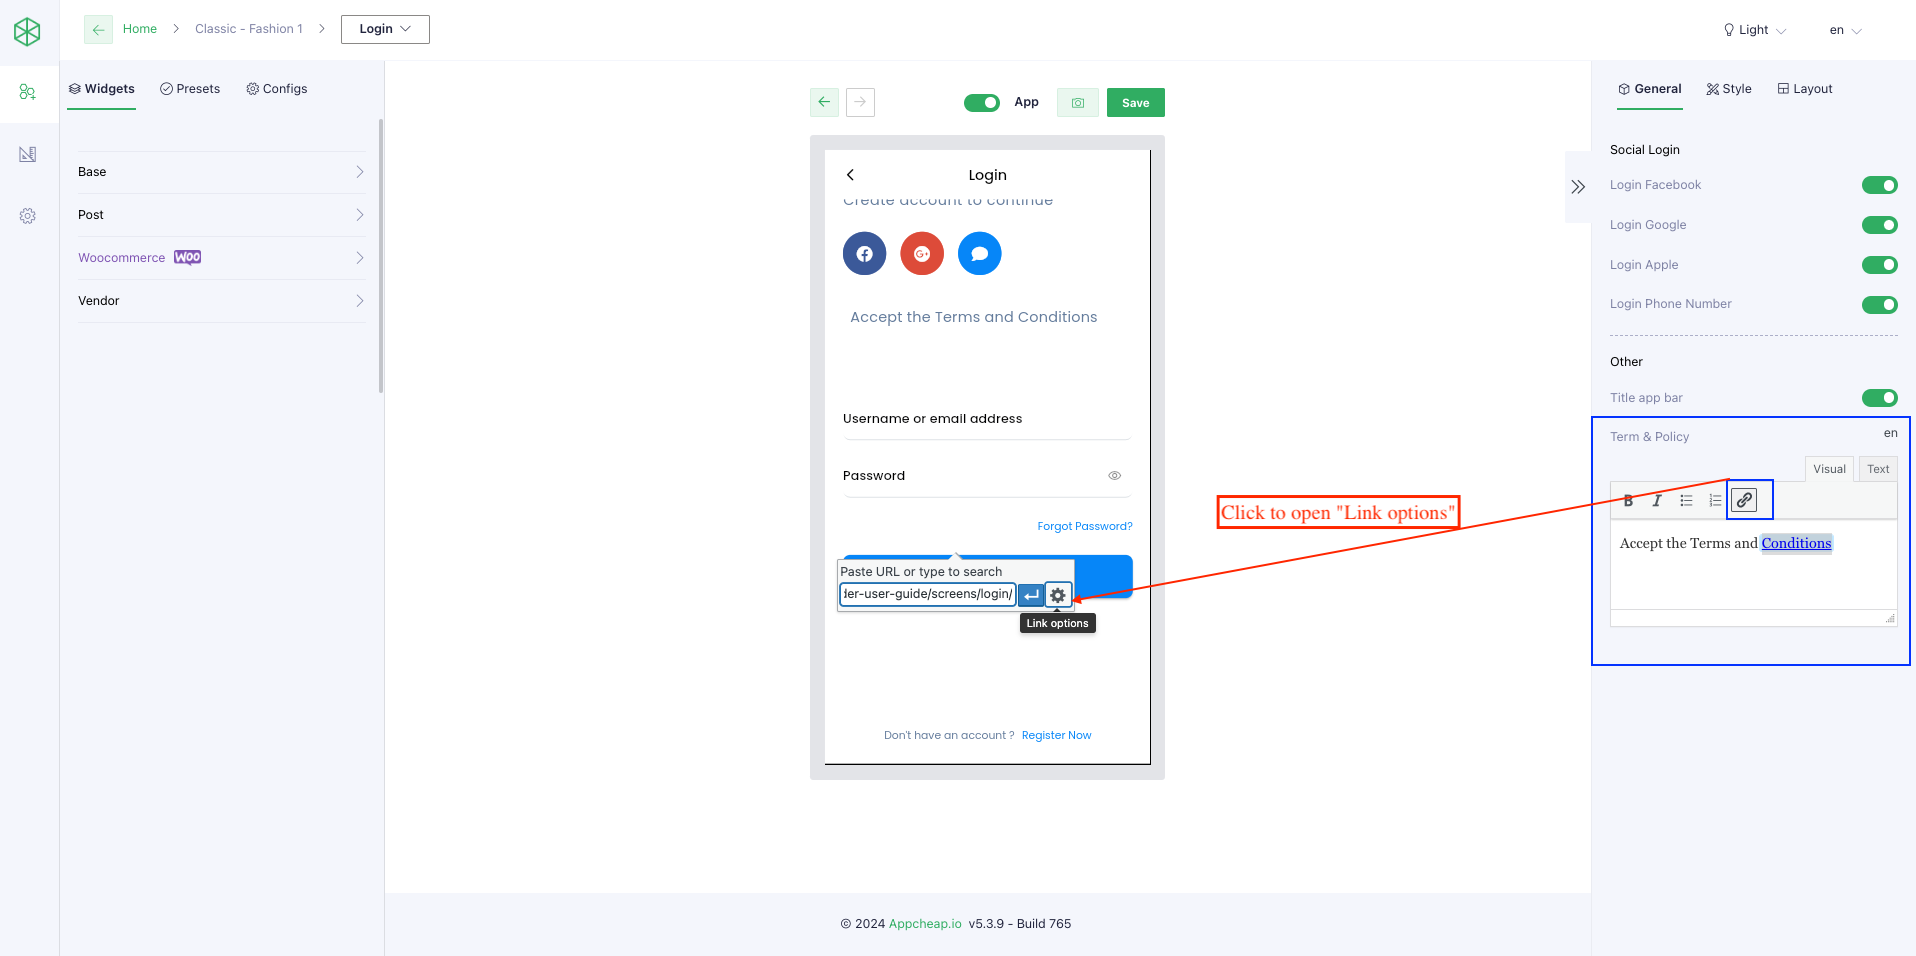
Step 2: Select [Link options] icon
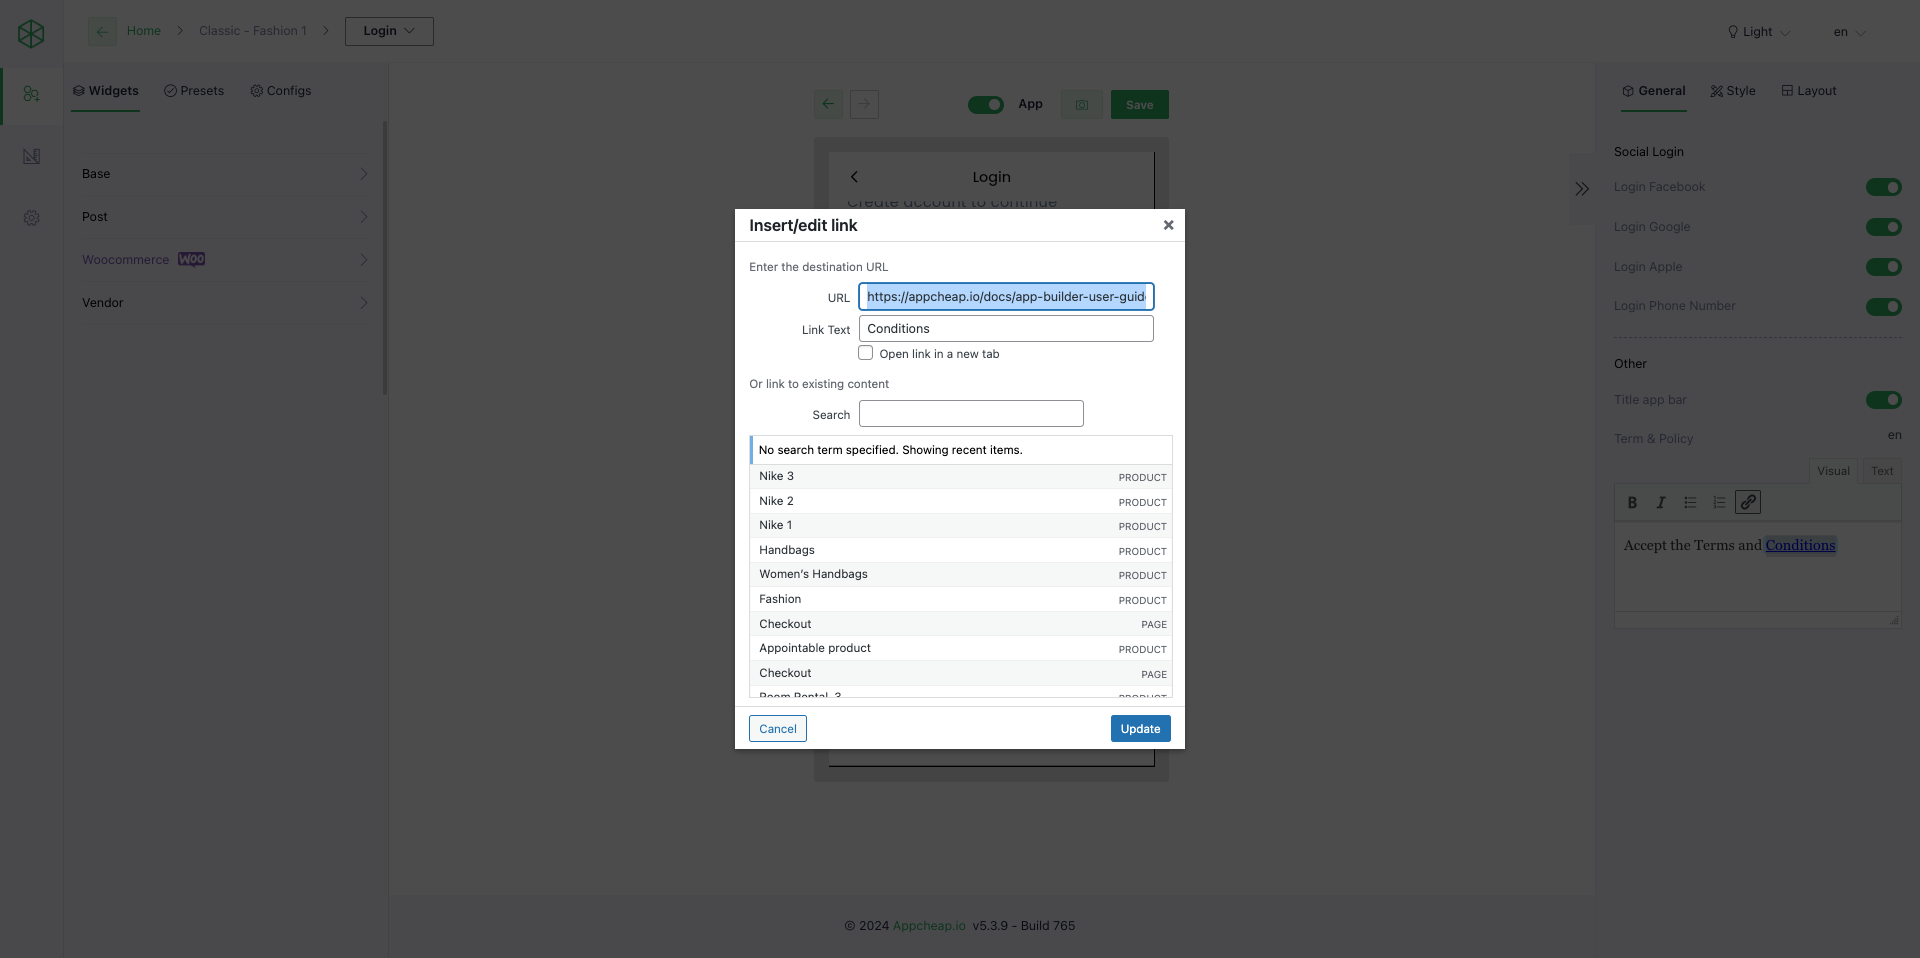
Step 3: On the Select/Edit link popup > search an existing content > Add link
Step 4: Save the change
*Note: After saving, the page will be shown when users click on the above text. BUT it includes both header and breadcrumb refer here. So if you want to hide them, need to adjust a bit:
– Inspect the page to find out main-id of the content refer here for this example, it is “main”
– Insert data-id-selector=”main” into “Terms and Policy” section refer here
– Save => It will show well then refer here
4. Presets
| The function of this part is, users can insert a preset instead of setting one by one part to get a Login form by clicking on [Insert Preset] button. |
5. Style configuration
Beside, users can set up: Background color, Padding for the Login form on [Style] tab.
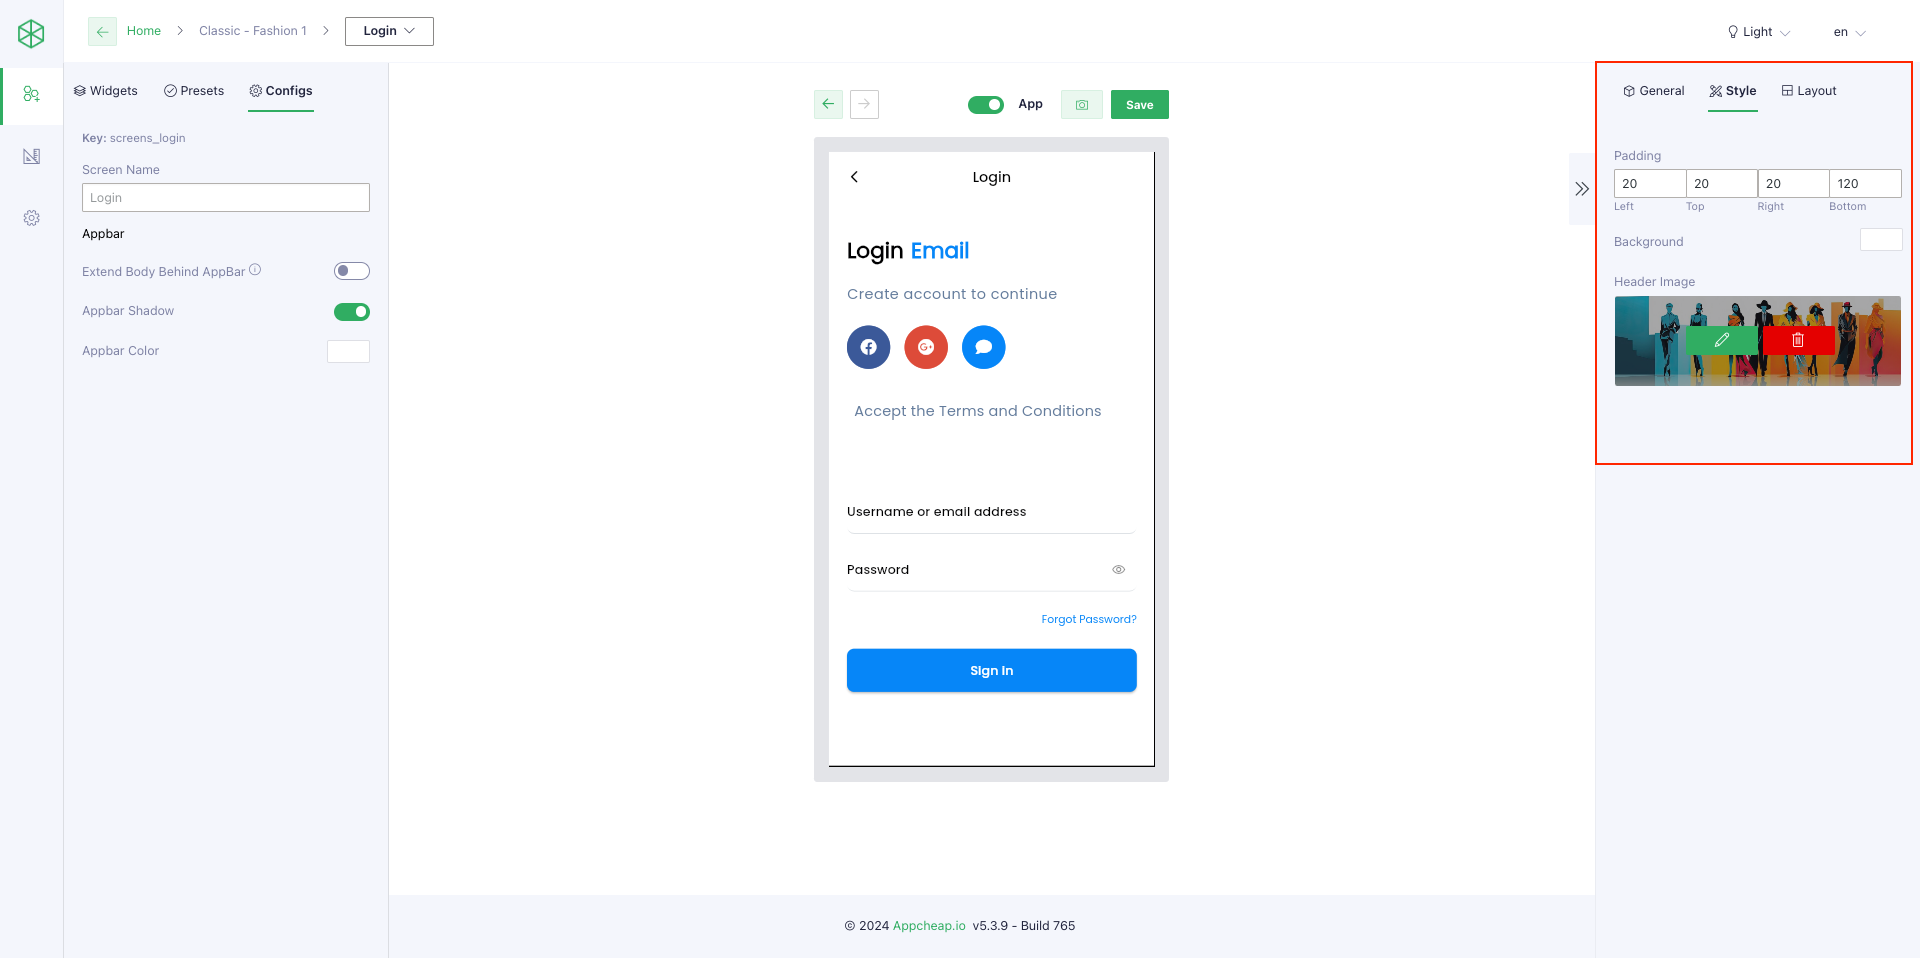
AND config Appbar as they want
