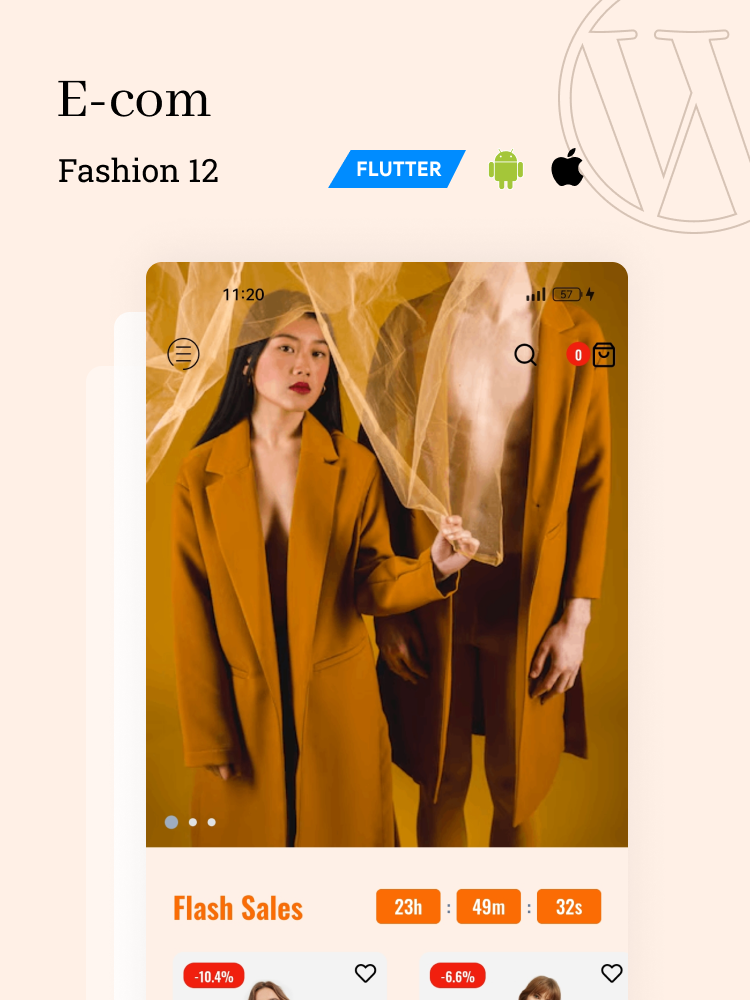
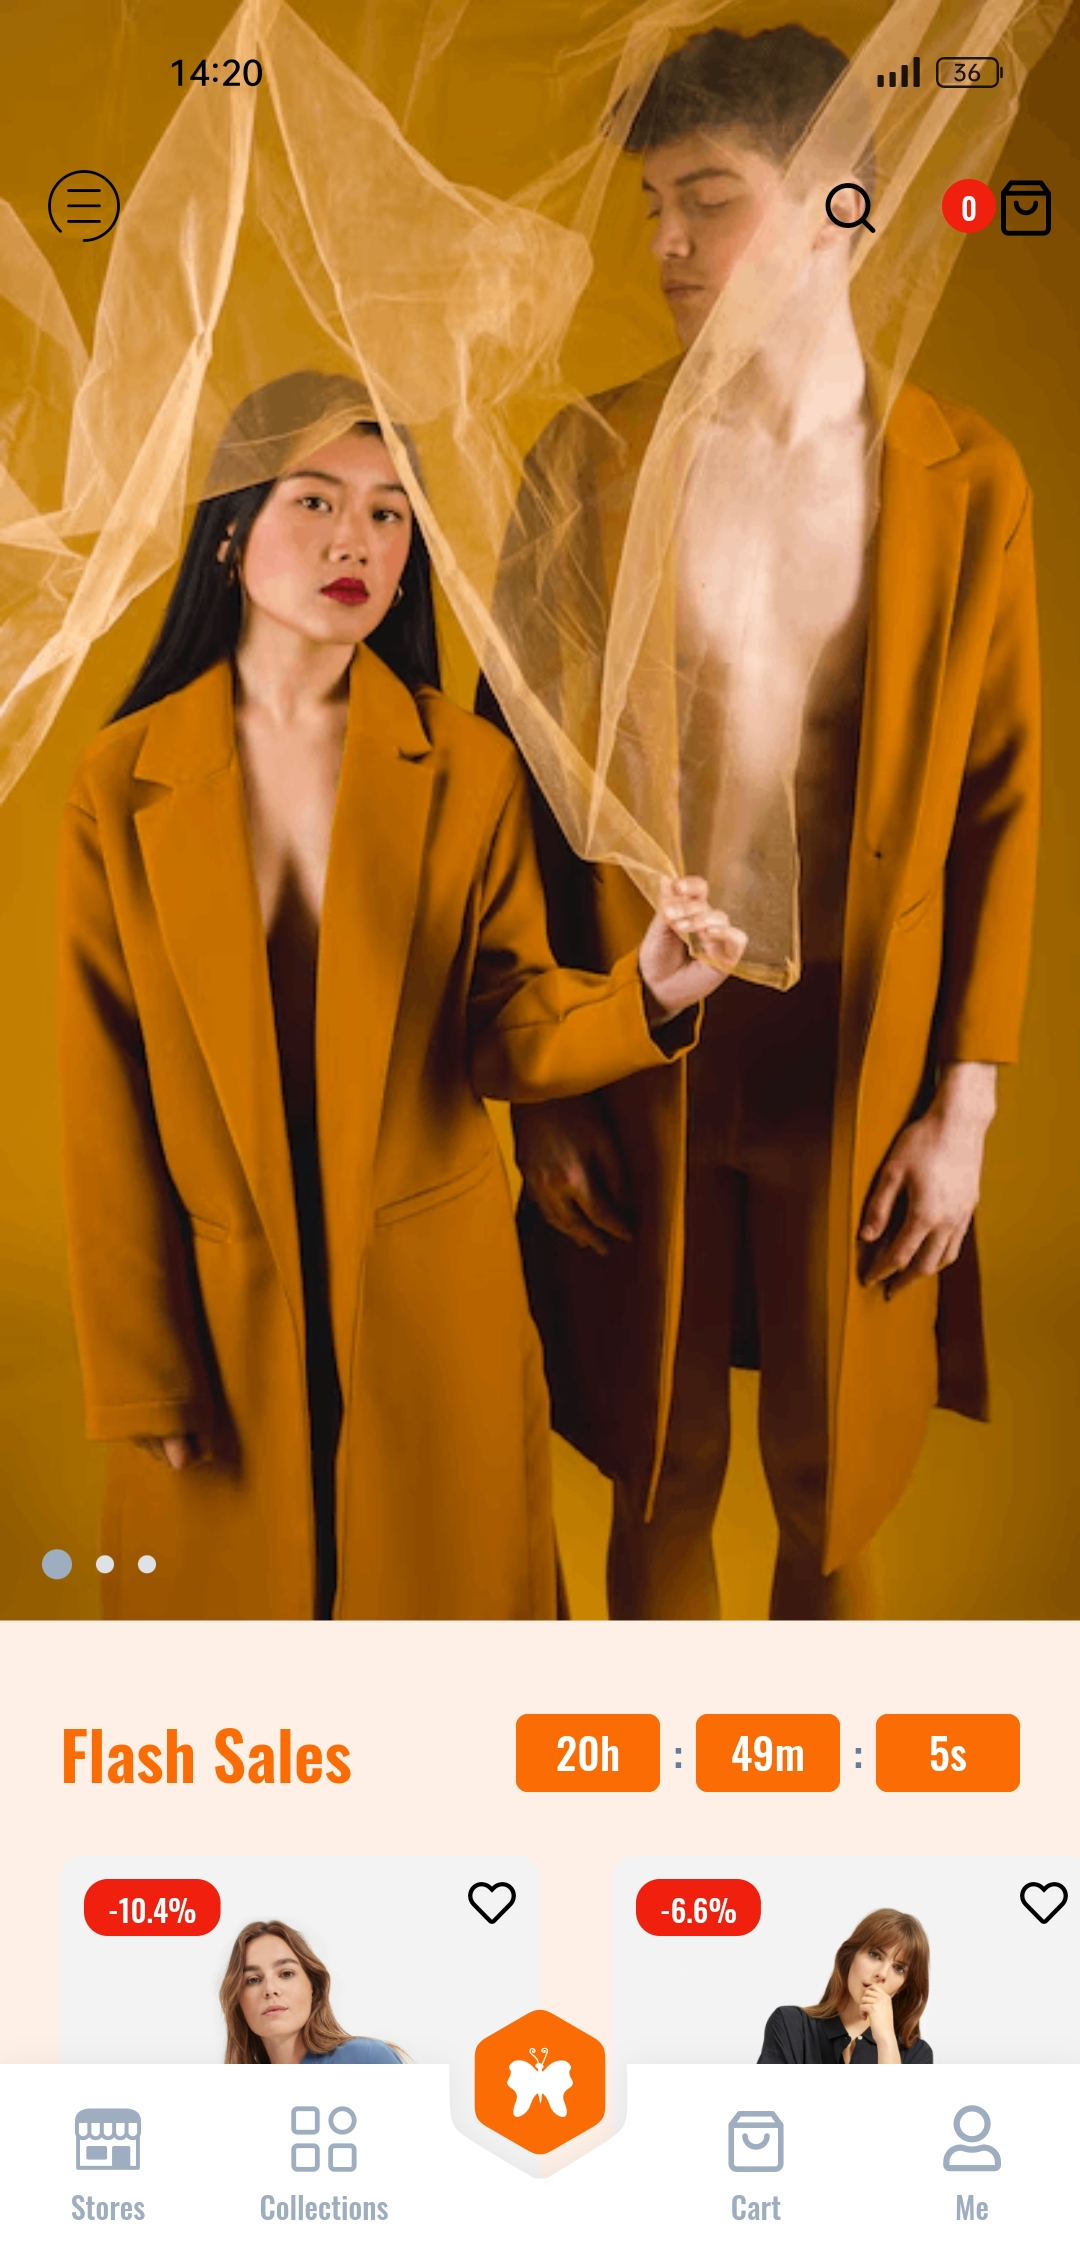
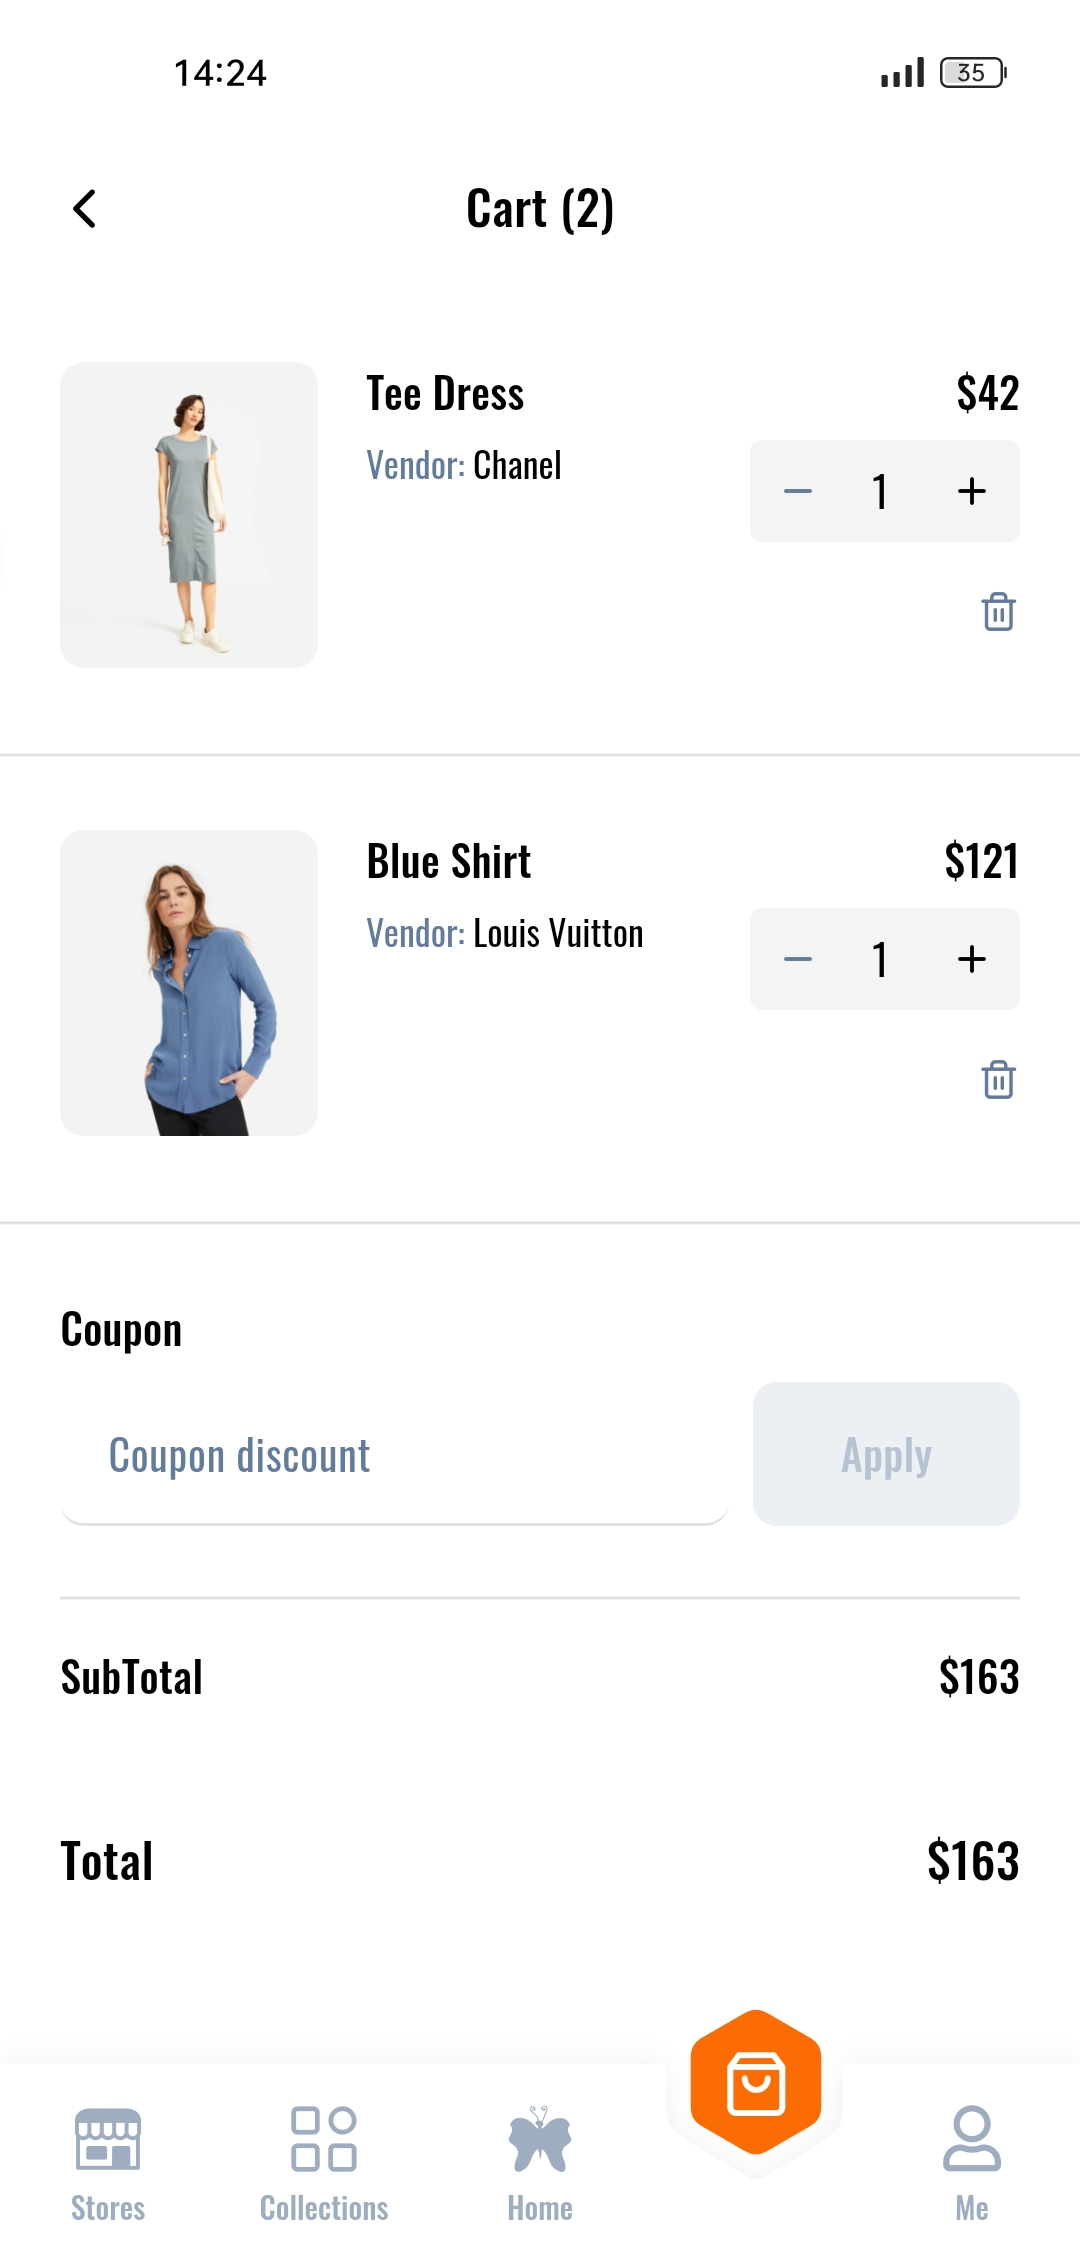
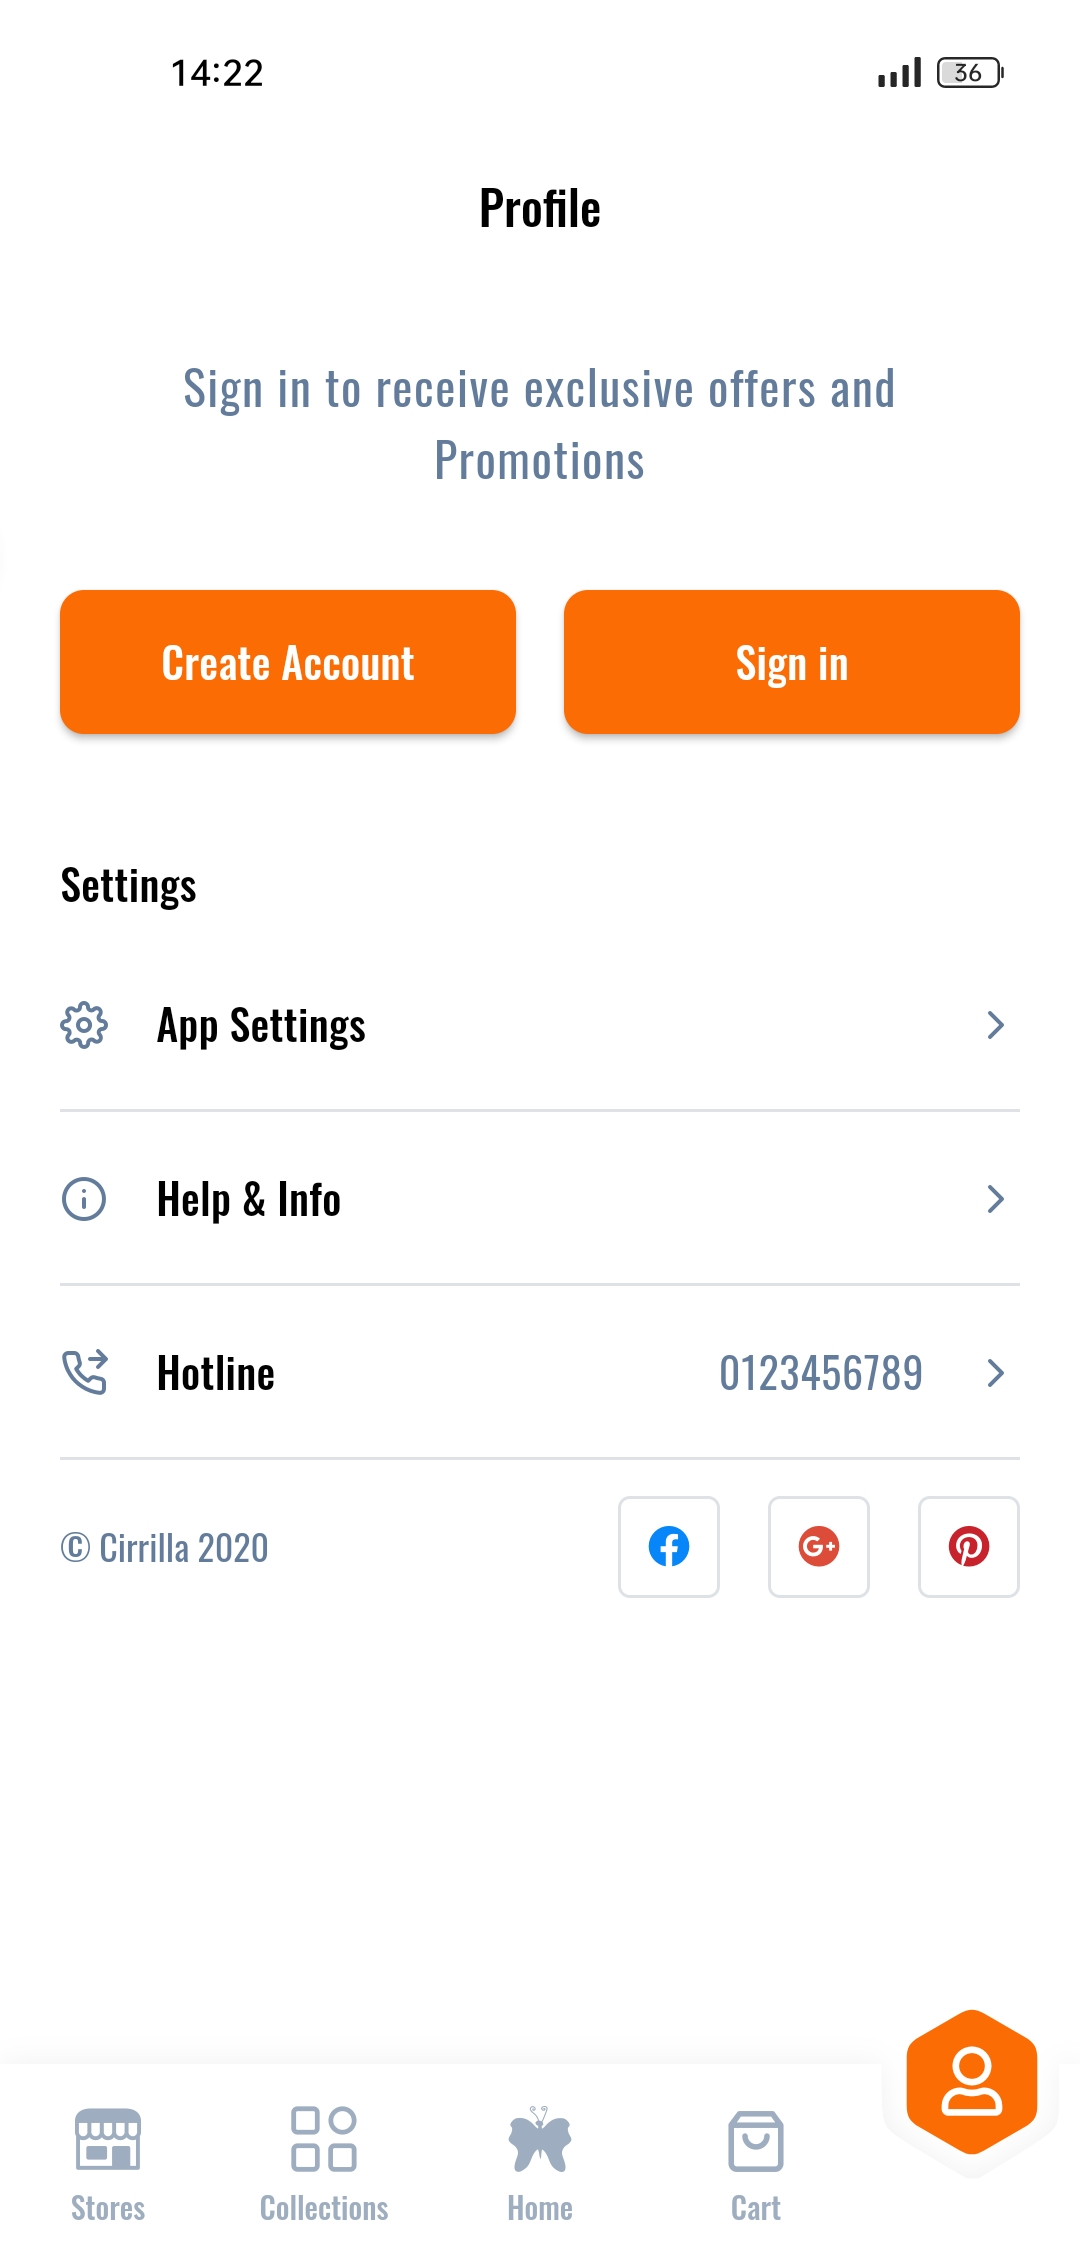
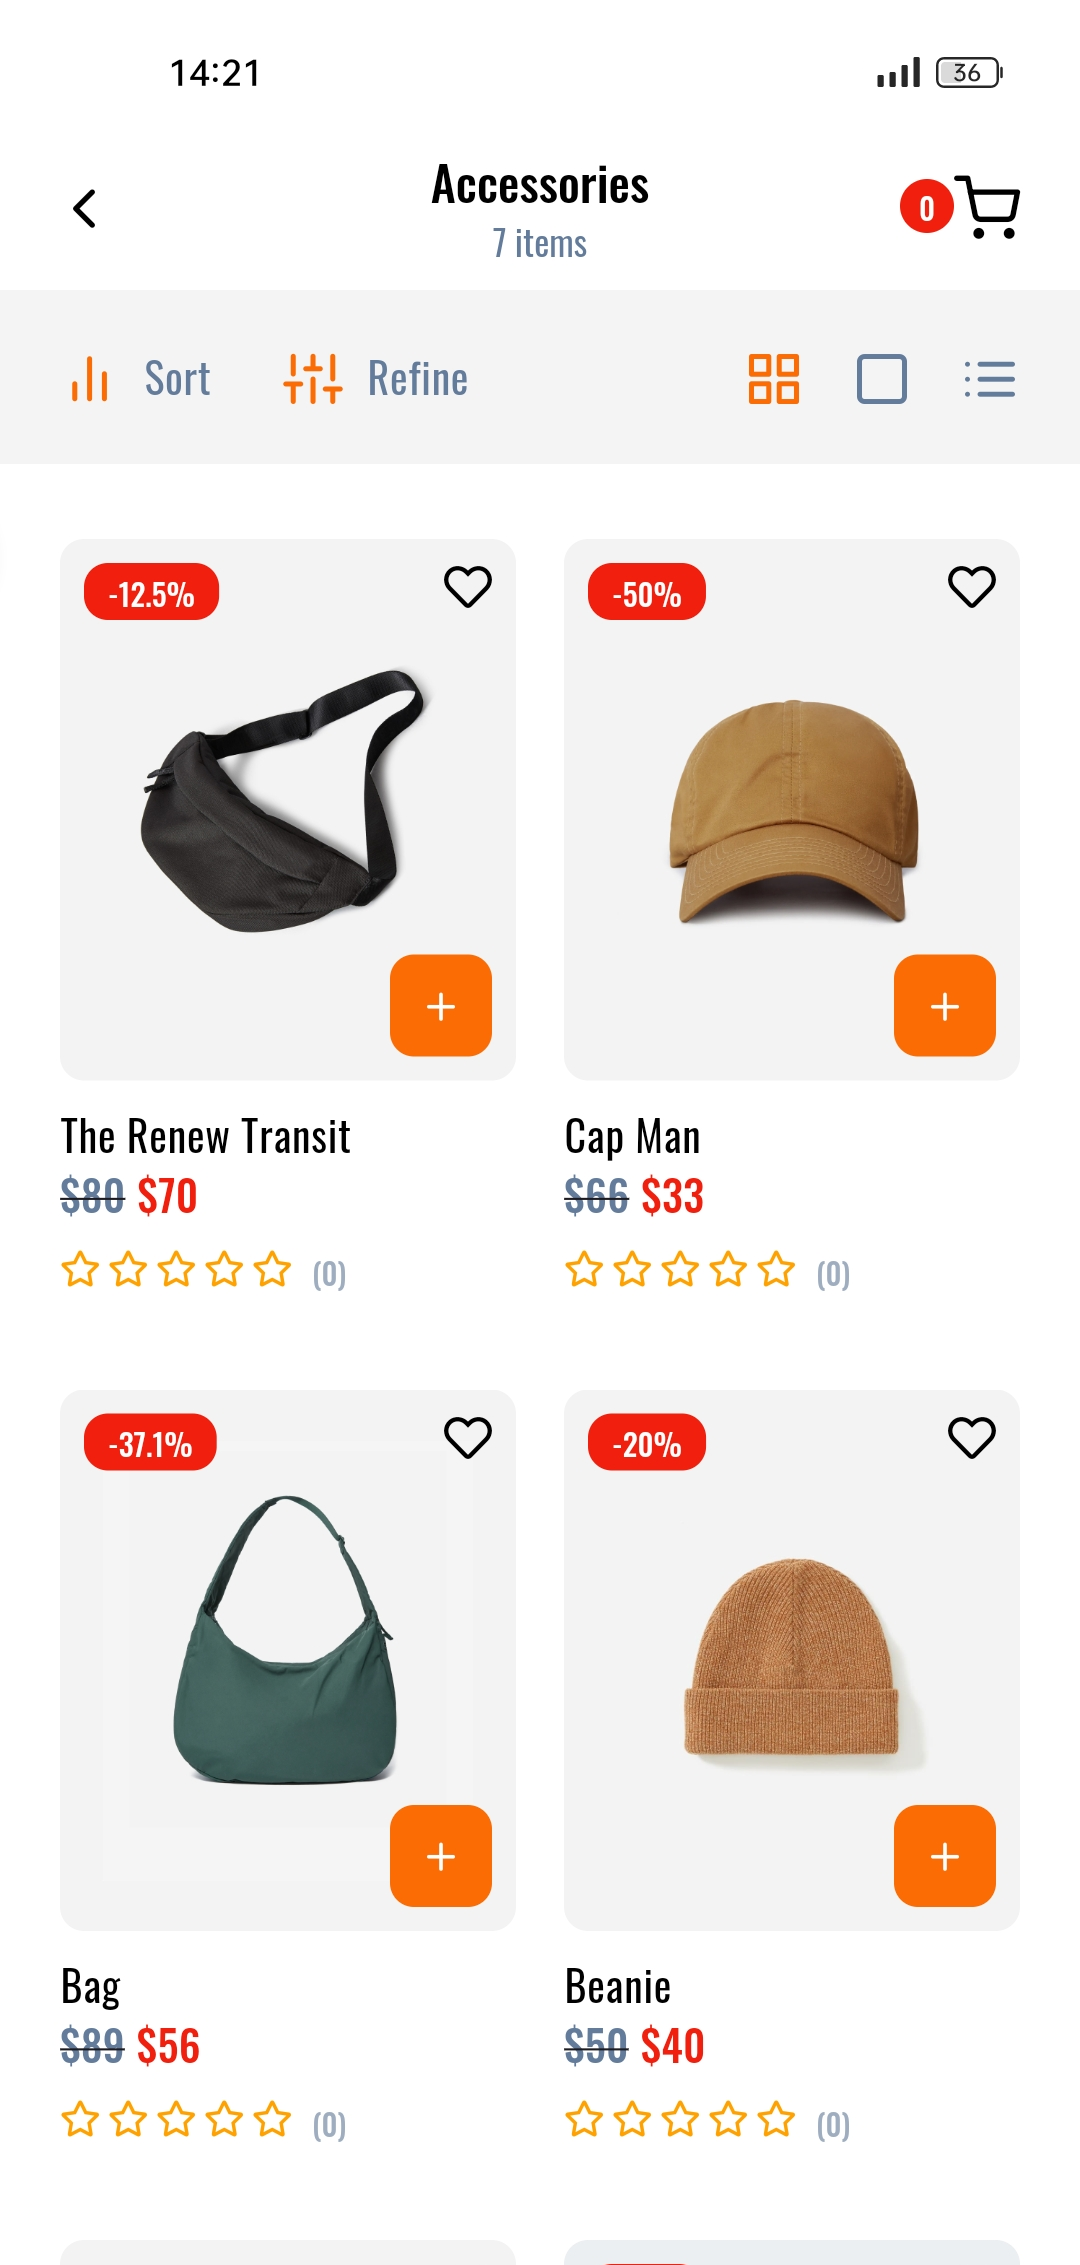
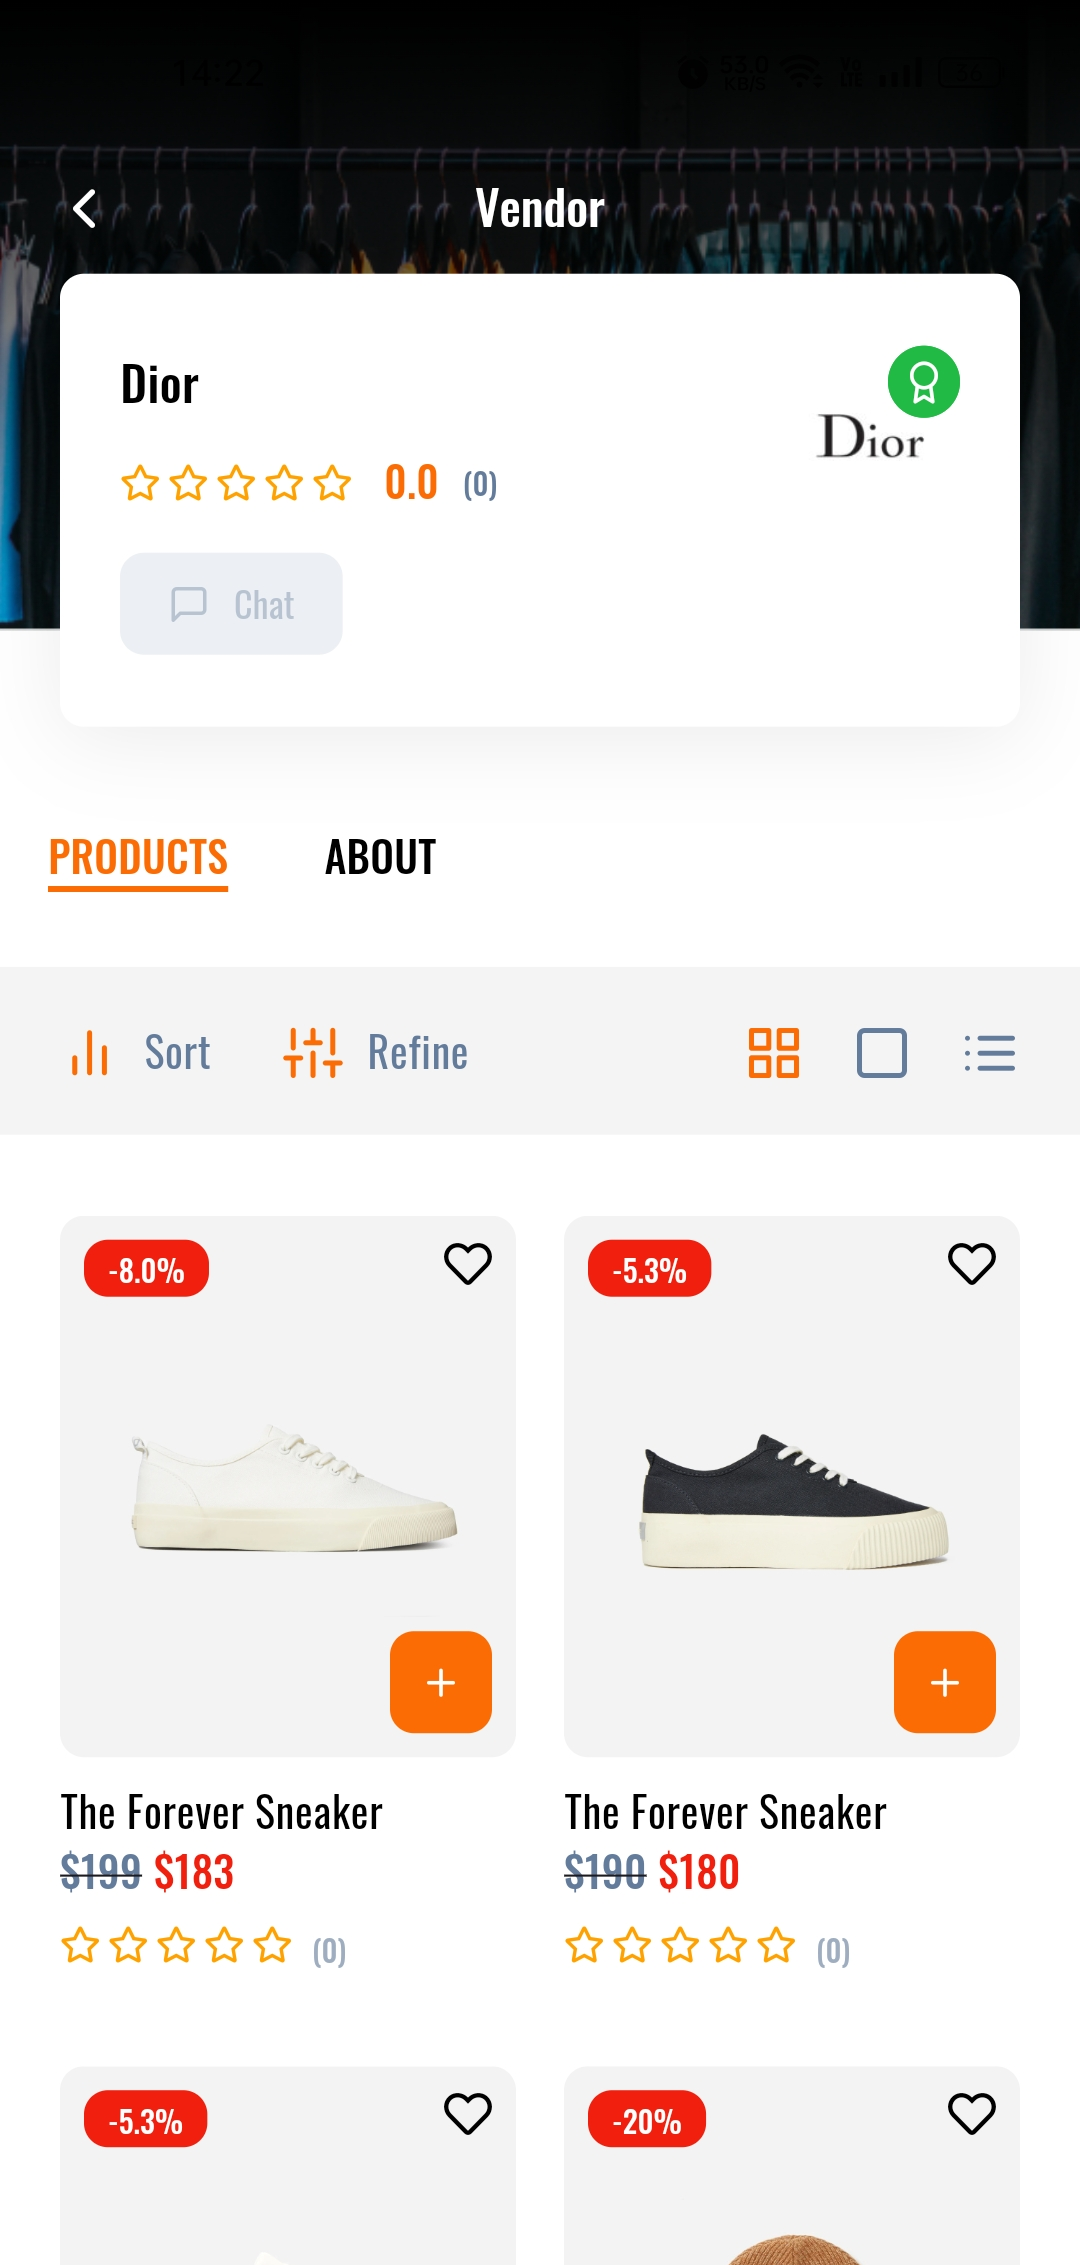
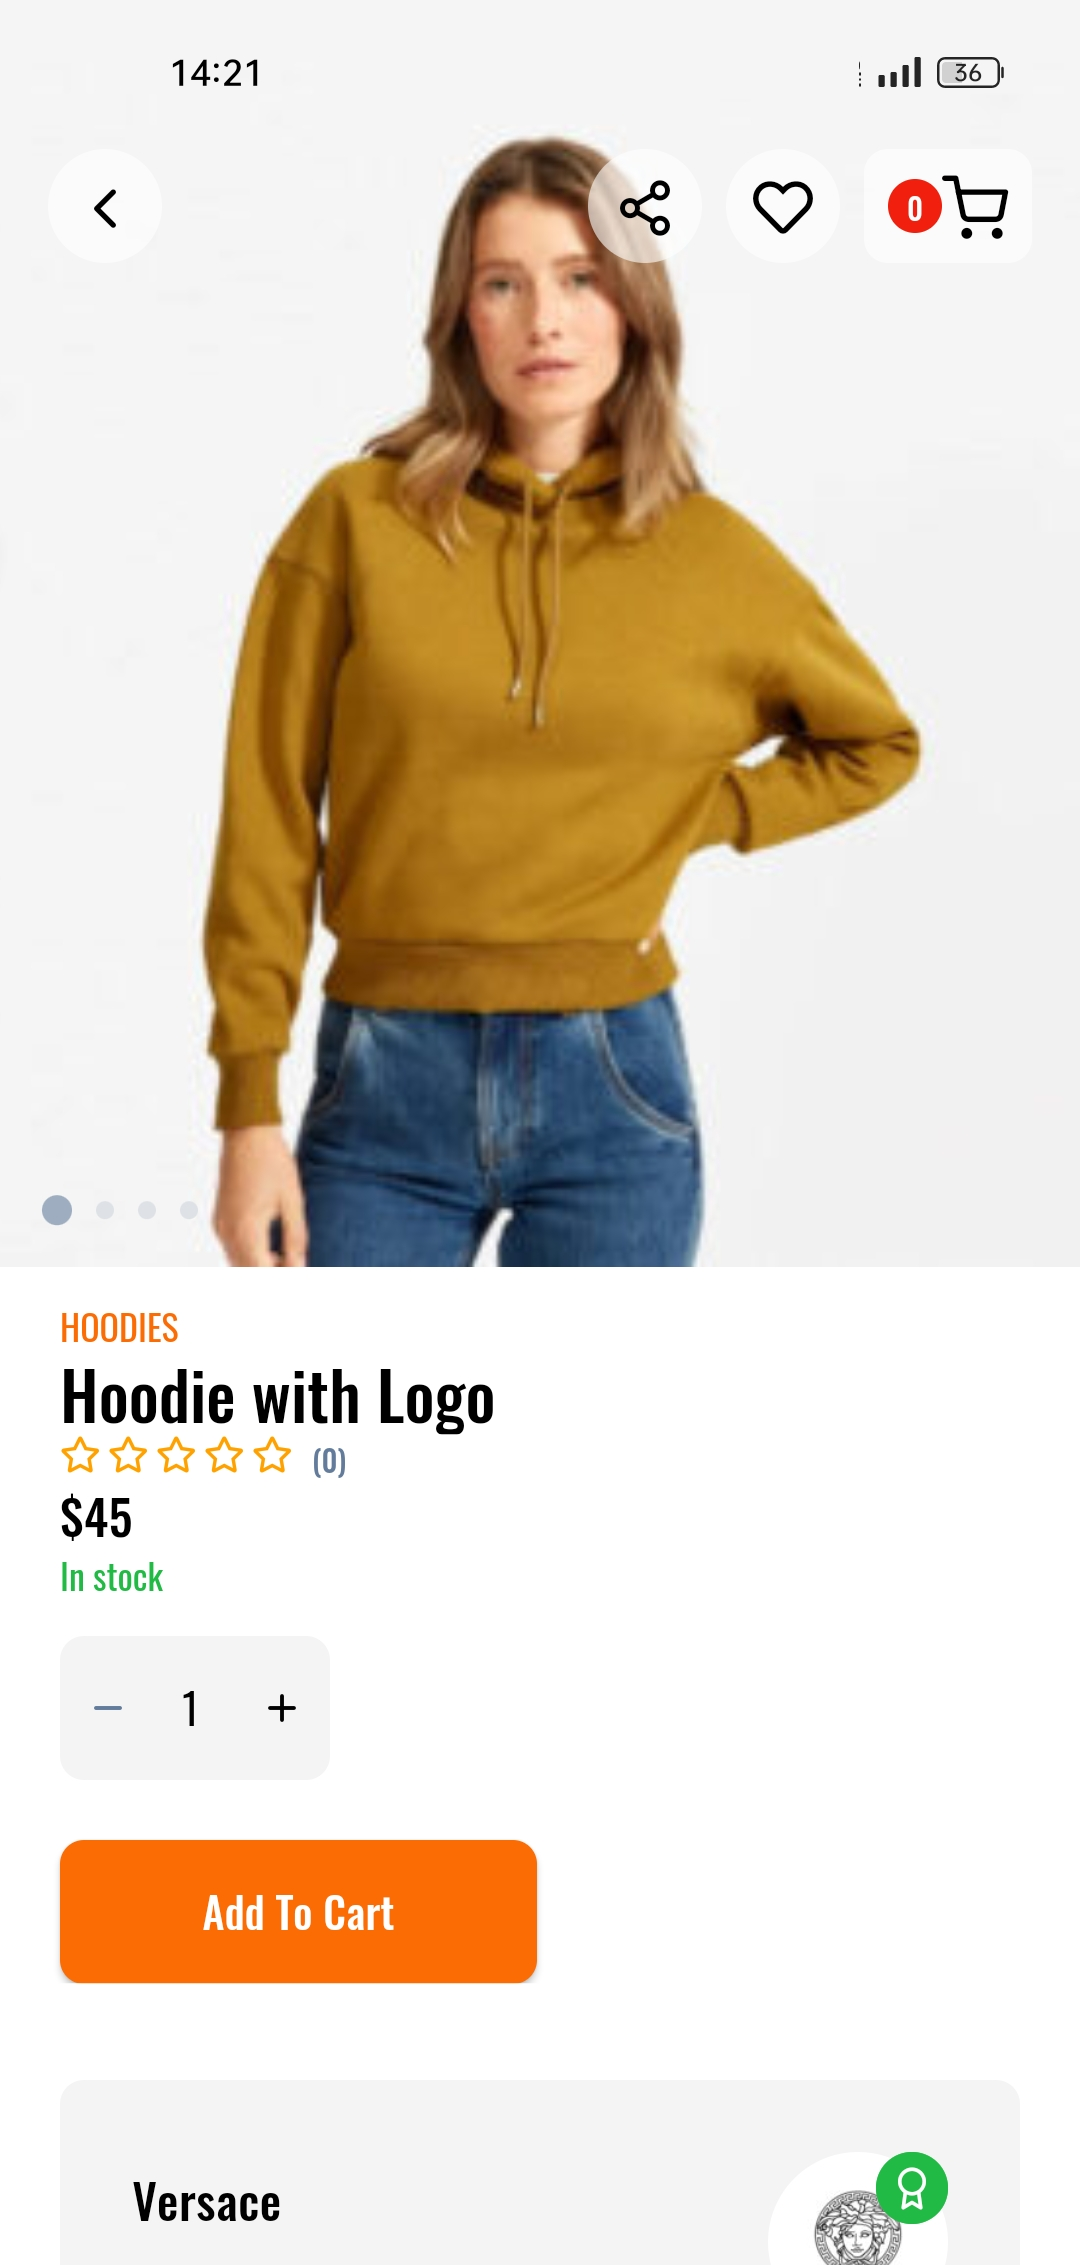
The “E-com Vendor” template offers a sleek, one-click import solution, perfect for designing a fashion app with minimal effort. Tailored for modern e-commerce stores, this template brings an “origin” color scheme that reflects the latest design trends, ideal for showcasing fashion products. With seamless customization options, it supports personalized fonts to add a touch of elegance and style, enhancing the visual appeal. Whether you’re creating a brand-focused store or a chic boutique, the template allows you to build a beautiful, professional-looking app in minutes—no coding required!
image fullscreen
Required and Optional Plugins
To ensure the “E-com Vendor” template works seamlessly and offers full functionality, you’ll need to install the following plugins:
Required Plugins:
- App Builder
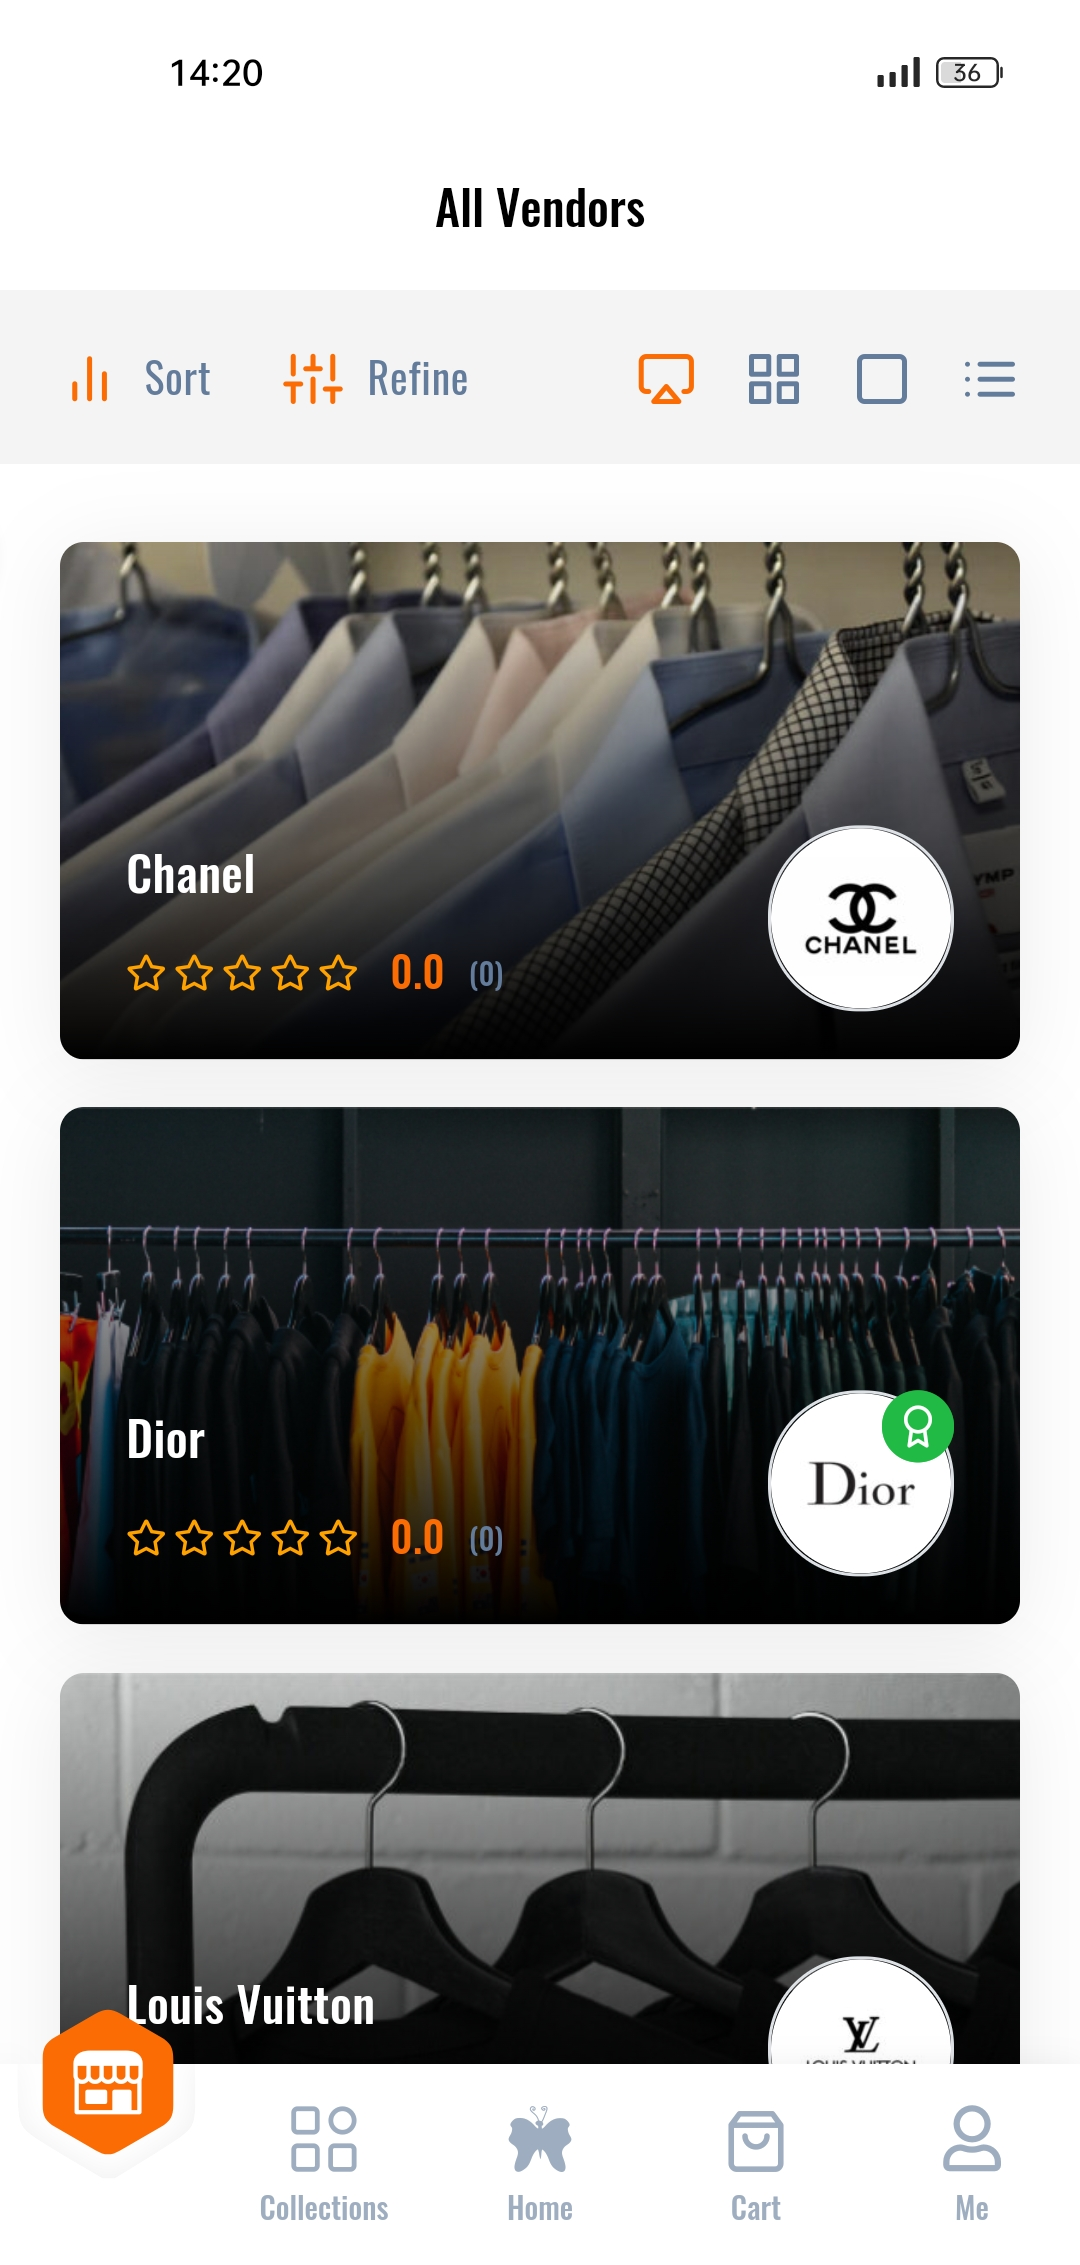
This is the core plugin needed to build and customize your mobile app using Cirilla. It provides all the necessary tools for designing and configuring your app. - Vendor Plugins
Depending on your e-commerce setup, you may need a vendor plugin to support multi-vendor functionality. Here are some vendor plugins we support:- Dokan
- WCFM Marketplace
- WC Vendors
- YITH WooCommerce Multi-Vendor
Optional Plugins:
- Multilanguage Plugin
If you want to make your app multilingual, we recommend installing a multilanguage plugin like:- WPML
- Polylang
Other Integrations
To explore more integrations and advanced features that can enhance your app, you can check out our detailed documentation. Whether you’re looking to integrate with payment gateways, analytics, or other third-party services, you’ll find comprehensive guides and setup instructions in our docs.
For more integrations, visit:
https://appcheap.io/docs/cirilla-developers-docs/integrations/
Set Up the “E-com Vendor” Template
- Log into WordPress Admin Dashboard
Access your WordPress dashboard using your admin credentials. - Navigate to App Builder
In the WordPress sidebar, find and click on App Builder. - Locate the “E-com Vendor” Template
Within the App Builder section, scroll through the available templates until you find “E-com Vendor”. - Import the Template
Once you’ve found the “E-com Vendor” template, click on the Import button.
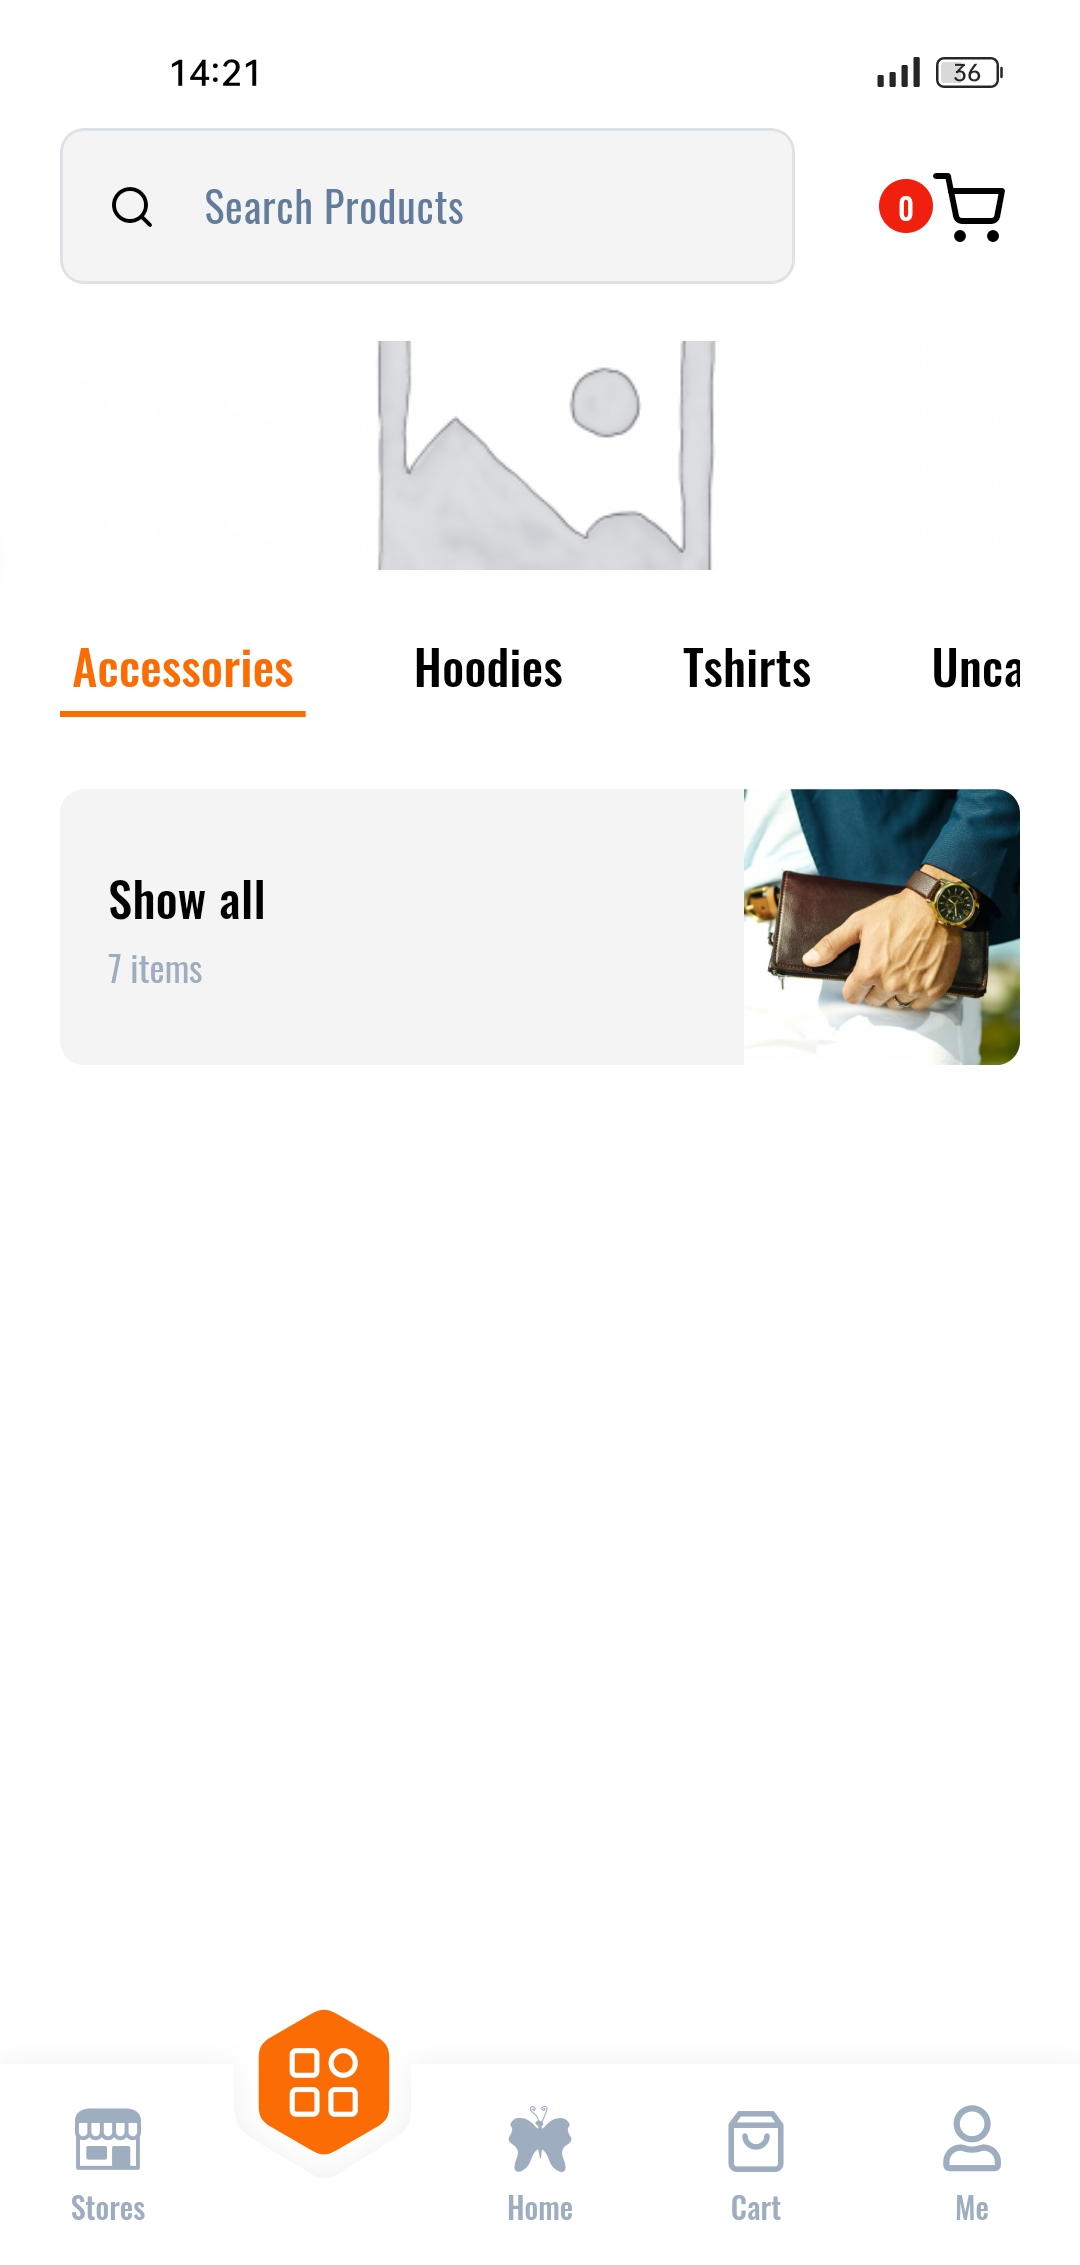
The template will be automatically imported and ready for customization. - Customize Your Fashion App
After importing, you can customize the color scheme, fonts, and other design elements to match your brand’s style.
Set Up Custom Font Icons
- Download file icon
Download vendor_icons.zip and unzip it. - Add icon to app
Copy unzipped folder to packages/ in app - Import package to app
Add this code snippets in file pubspec.yaml of app and run flutter pub get
vendor_icons:
path: ./packages/vendor_icons- Go file lib/widgets/cirilla_icon_builder.dart and add this code snippets:
import 'package:vendor_icons/vendor.dart';case 'vendor':
return VendorIconsMap[name];If you want test your store, you must setting App builder
- Log into WordPress Admin Dashboard
Access your WordPress dashboard using your admin credentials. - Navigate to App Builder Settings
In the WordPress sidebar, go to App Builder and then click on Settings. - Open the Features Tab
In the App Builder settings, switch to the Features tab. - Click on Custom Icons
Within the Features tab, find and click on Custom Icons. - Add fonts settings add Save it
https://cdn.rnlab.io/fonts/linhphamrn/gqTjKPSxlCvLPxrEFOGY/vendor.css?v=1727844726630
https://cdn.rnlab.io/fonts/linhphamrn/gqTjKPSxlCvLPxrEFOGY/font.json?v=1727844726630
For more information, visit: Custom icons