Preliminaries
Xcode is required to build and release your app. You must use a device running macOS to follow this guide.
Before beginning the process of releasing your app, ensure that it meets Apple’s App Review Guidelines.
In order to publish your app to the App Store, you must first enroll in the Apple Developer Program. You can read more about the various membership options in Apple’s Choosing a Membership guide.
Register your app on App Store Connect
Manage your app’s life cycle on App Store Connect (formerly iTunes Connect). You define your app name and description, add screenshots, set pricing, and manage releases to the App Store and TestFlight.
Registering your app involves two steps: registering a unique Bundle ID, and creating an application record on App Store Connect.
For a detailed overview of App Store Connect, see the App Store Connect guide.
Register a Bundle ID
Every iOS application is associated with a Bundle ID, a unique identifier registered with Apple. To register a Bundle ID for your app, follow these steps:
- Open the App IDs page of your developer account.
- Click + to create a new Bundle ID.
- Enter an app name, select Explicit App ID, and enter an ID.
- Select the services your app uses, then click Continue.
- On the next page, confirm the details and click Register to register your Bundle ID.
Create an application record on App Store Connect
Register your app on App Store Connect:
- Open App Store Connect in your browser.
- On the App Store Connect landing page, click My Apps.
- Click + in the top-left corner of the My Apps page, then select New App.
- Fill in your app details in the form that appears. In the Platforms section, ensure that iOS is checked. Since Flutter does not currently support tvOS, leave that checkbox unchecked. Click Create.
- Navigate to the application details for your app and select App Information from the sidebar.
- In the General Information section, select the Bundle ID you registered in the preceding step.
For a detailed overview, see Add an app to your account.
Review Xcode project settings
This step covers reviewing the most important settings in the Xcode workspace. For detailed procedures and descriptions, see Prepare for app distribution.
Navigate to your target’s settings in Xcode:
- In Xcode, open
Runner.xcworkspacein your app’siosfolder. - To view your app’s settings, select the Runner project in the Xcode project navigator. Then, in the main view sidebar, select the Runner target.
- Select the General tab.
Verify the most important settings.
In the Identity section:Display NameThe display name of your app.Bundle IdentifierThe App ID you registered on App Store Connect.
In the Signing & Capabilities section:Automatically manage signingWhether Xcode should automatically manage app signing and provisioning. This is set true by default, which should be sufficient for most apps. For more complex scenarios, see the Code Signing Guide.TeamSelect the team associated with your registered Apple Developer account. If required, select Add Account…, then update this setting.
In the Build Settings section:iOS Deployment TargetThe minimum iOS version that your app supports. Flutter supports iOS 9.0 and later. If your app or plugins include Objective-C or Swift code that makes use of APIs newer than iOS 9, update this setting to the highest required version.
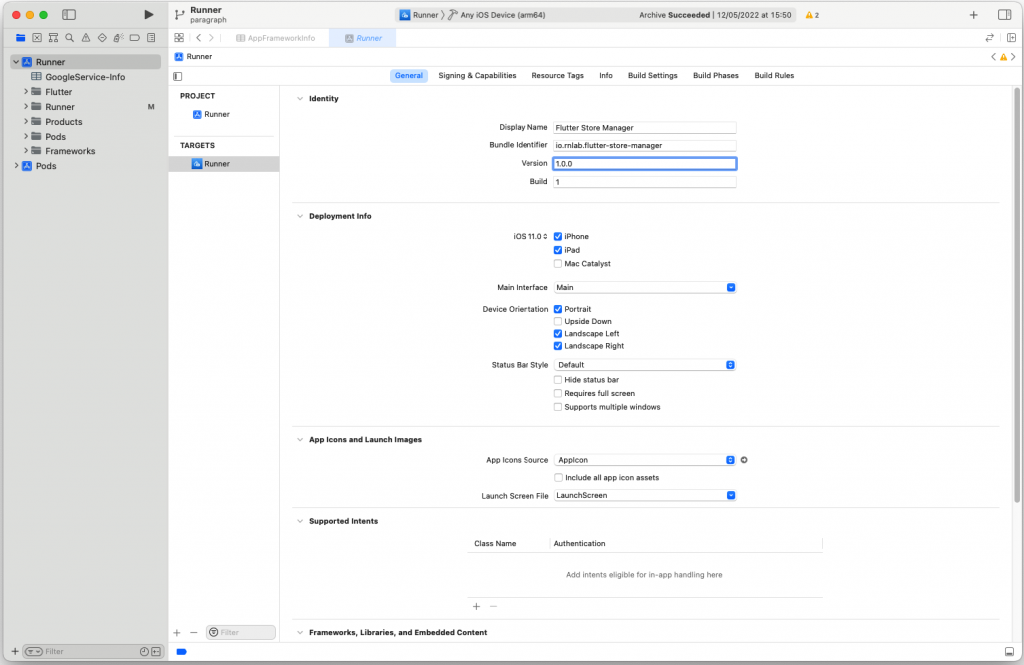
The General tab of your project settings should resemble the following:
For a detailed overview of app signing, see Create, export, and delete signing certificates.
Create a build archive and upload it to App Store Connect
During development, you’ve been building, debugging, and testing with debug builds. When you’re ready to ship your app to users on the App Store or TestFlight, you need to prepare a release build.
Update the app’s build and version numbers
The default version number of the app is 1.0.0. To update it, navigate to the pubspec.yaml file and update the following line:content_copy
version: 1.0.0+1
The version number is three numbers separated by dots, such as 1.0.0 in the example above, followed by an optional build number such as 1 in the example above, separated by a +.
Both the version and the build number can be overridden in flutter build ipa by specifying --build-name and --build-number, respectively.
In iOS, build-name uses CFBundleShortVersionString while build-number uses CFBundleVersion. Read more about iOS versioning at Core Foundation Keys on the Apple Developer’s site.
You may also override the pubspec.yaml build name and number in Xcode:
- Open
Runner.xcworkspacein your app’siosfolder. - Select Runner in the Xcode project navigator, then selects the Runner target in the settings view sidebar.
- In the Identity section, update the Version to the user-facing version number you wish to publish.
- In the Identity section, update the Build identifier to a unique build number used to track this build on App Store Connect. Each upload requires a unique build number.
Release your app on TestFlight
TestFlight allows developers to push their apps to internal and external testers. This optional step covers releasing your build on TestFlight.
- Navigate to the TestFlight tab of your app’s application details page on App Store Connect.
- Select Internal Testing in the sidebar.
- Select the build to publish to testers, then click Save.
- Add the email addresses of any internal testers. You can add additional internal users on the Users and Roles page of App Store Connect, available from the dropdown menu at the top of the page.
For more details, see Distribute an app using TestFlight.
Release your app to the App Store
When you’re ready to release your app to the world, follow these steps to submit your app for review and release to the App Store:
- Select Pricing and Availability from the sidebar of your app’s application details page on App Store Connect and complete the required information.
- Select the status from the sidebar. If this is the first release of this app, its status is 1.0 Prepare for Submission. Complete all required fields.
- Click Submit for Review.
Apple notifies you when their app review process is complete. Your app is released according to the instructions you specified in the Version Release section.
For more details, see Distribute an app through the App Store.